Is there any hope for dead oil painting brushes?
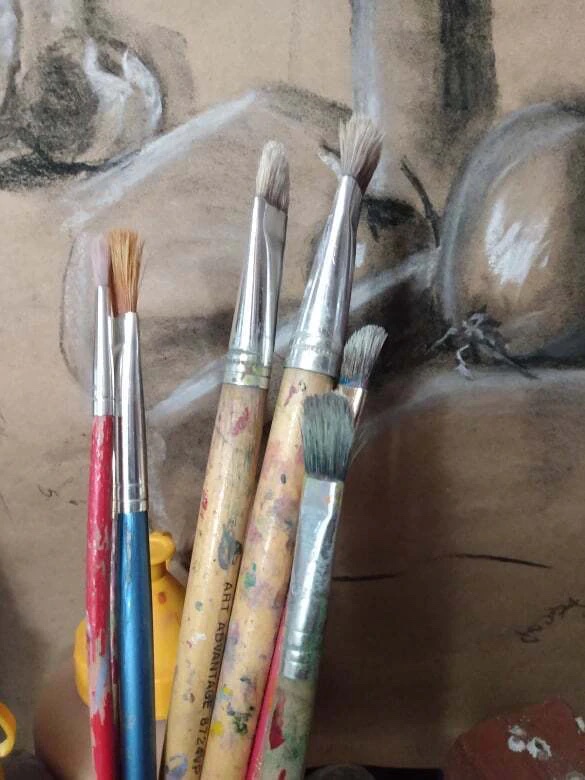
So let’s face it, sometimes we forget about cleaning oil paint brushes, or just don’t do a thorough clean, or lose a brush and find it behind all our gear many months later, and so it goes, part of the artist life right?… If you want to know how to clean oil painting brushes, here are some really helpful tips and products you can use.
About Oil Paints
Let’s talk about a few facts; paints are a combination of thinner, pigment, and binder. Acrylics are basically plastic, resin, water and pigment, whether you buy them as artist paint or house paint. This is one reason why they dry so quickly. Oil paints are made from oil, usually linseed, walnut, safflower oil, spirit and pigment. Alkyd has resin as a binder, a thinner of either alcohol or mineral spirits and pigment.
We use “like with like” to get a good clean brush. If you dip an oil-drenched brush straight into water you will get a mess. If you dip an acrylic water-based pigment into oil you will have a mess. My experience with alkyd paints is that when you try to wash them up with ordinary water you often end up with a mess.
OOOPS! Don’t despair almost everyone’s done it. No need to throw the brush out as it can be restored and useful again. Some of you have already discovered this.
How to clean oil painting brushes while painting
If you want to know how to clean oil painting brushes so you can paint quickly, without having to worry about cleaning your brushes, just designate brushes of 3 sizes to each of the values you are using. Then clean up between colors and values is shorter. Best to have a little brush stand for this. You can easily make one from an old scrap of 2×4 or 4×4 wood. Drill holes to the approximate sizes of the brush handles and then stand them up in it, switching them out whilst you paint if you are using alklyd or oil paints.
You can use use a paper towel, old cotton rag (lint free) to wipe the bristles nearly free of paint then switch colors. There is no need to continually clean the brushes while working. Please remember when using an oil to clean between color changes, wipe the brush completely clean of the oil, or this will add oil to the new hue and slow the dry time.
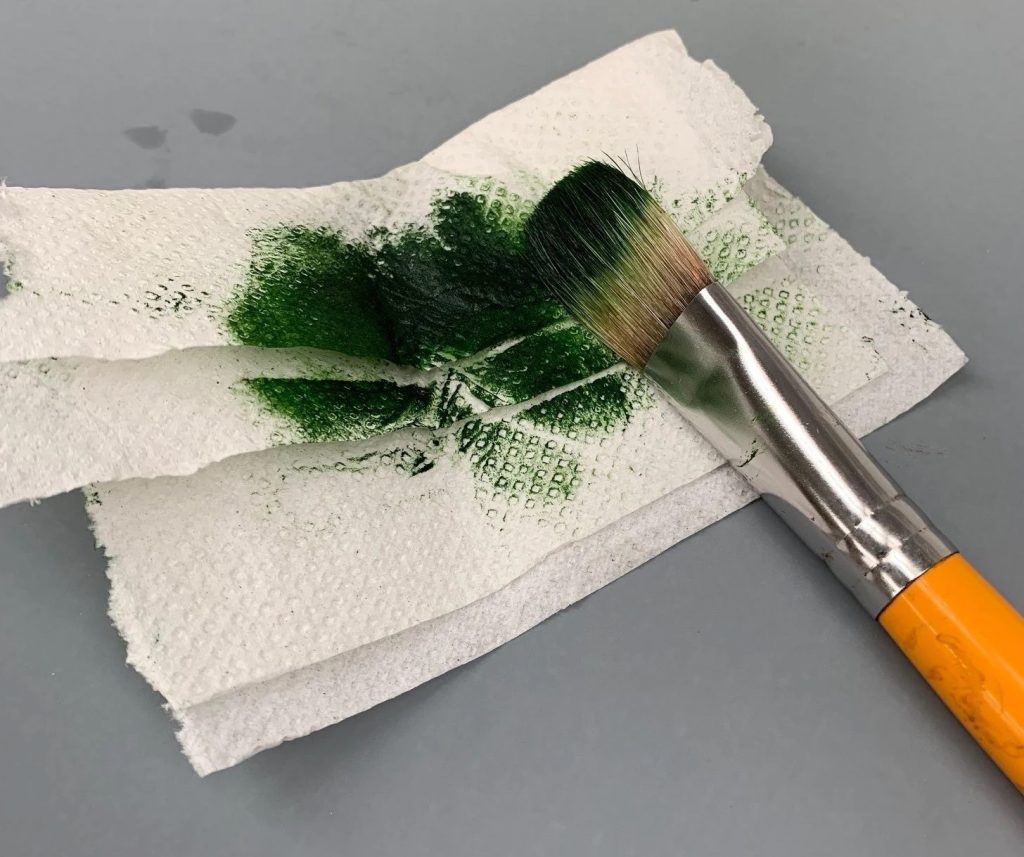
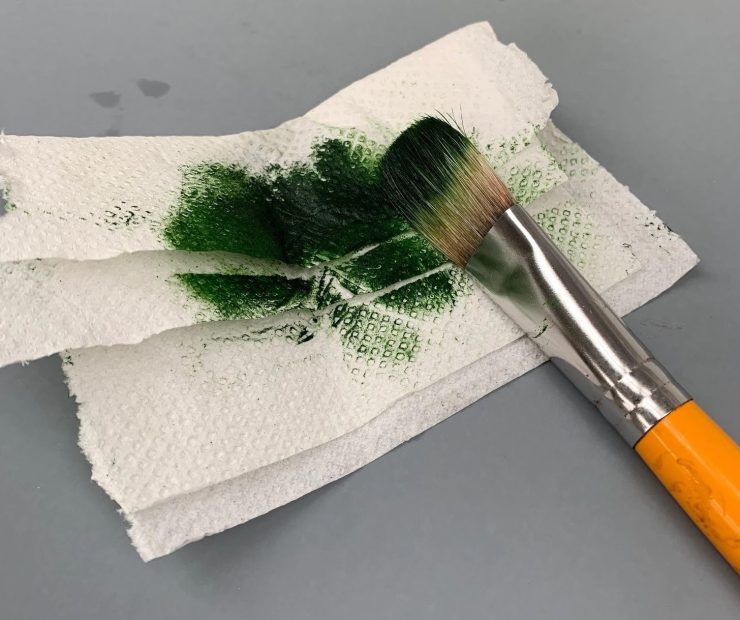
Simply hold the brush by the ferrule, and pull the paint out of the bristles with a lint free cloth, newsprint or paper towel. Then wipe back and forth on a towel to check if the pigment is removed and continue painting.
If you are not satisfied with this and really want a very clean brush you can just give it a little dip into oil work it through and wipe well again until all the pigment comes out as well as the oil. Then switch colors.
Keep in mind if you use an oil to clean the brush it will affect the next pigment you put on. Different oils have different viscosities and this will affect the speed with which your paint dries as well as the flow of the paint. Remember the fat over lean principle.
For painting wih acrylics, you will need a container with rinse water to cover the bristles if you are not directly wiping the brush free of paint and using immediately otherwise your brushes will become stiff and unuseable without a thorough clean.
How to clean oil painting brushes – containers
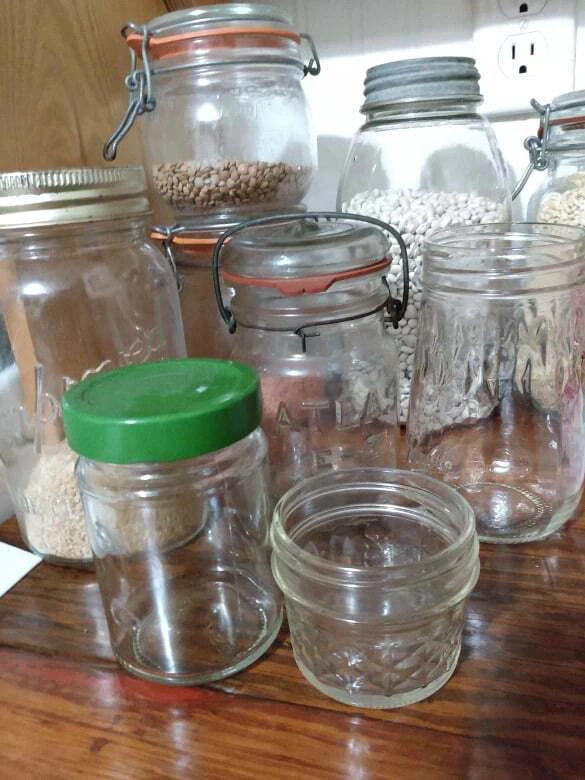
There are plenty of containers that are as specific and expensive as you like, but there are also many things you can recycle and use for free. Any jar with a well fitting lid will do. Some are quite nice looking. Old canning jars are some of my favorites, the ones your favorite jam or chutney came out of. Choose one that suits the types of brushes you use. You will want 2 jars. One for the dirty brush, another for the second clean. Keep the oil in these jars and reuse them for months at a time.
How to clean oil painting brushes using oils
There are many natural oils you can use. These oils are often in the home and non-toxic; such as vegetable oil, mineral oil (with no additives), baby oil, safflower, walnut, linseed* (alias flaxseed oil) or poppy oil. *Linseed/Flax oil is flammable. If you use linseed/flaxseed oil please remember to open the rags to air in a well ventilated spot. Throw oil soaked papers or paper towels into a metal fireproof can. Even though it is good for your skin wood oils and resins are flammable.
Drying versus non-drying oils
For professional work, non-drying vegetable oils, if not removed well before painting, will mean your painting will never dry. So this is not acceptable practice for professional archival work. It’s okay for studies, just not for work you sell. If you want to do archival work, be certain your brushes are washed clean and free of oils before painting.
Tips for how to clean oil painting brushes when using alkyds
The newer alkyd paints dry very quickly, and so it is very important to clean your brushes within a few hours of finishing your oil painting. This is particularly important in hot weather.
Good oils for archival work
These oils will eventually dry: Linseed, walnut and poppyseed, and safflower, these are the traditional oils used for paintings.
Cautions when cleaning oil painting brushes
These oils never dry and should not be used for professional work: mineral oil, soy oil, sunflower oil, boiled linseed oil (darkens significantly) vegetable oils.
The big clean up!
There is a lot of room for personal preference about how you choose to clean your brushes. But the traditional rules are to use water for water based paint clean up and oil for oil based paint clean up and in my experience alkyd paints benefit from a 1st clean with oil.
Step one
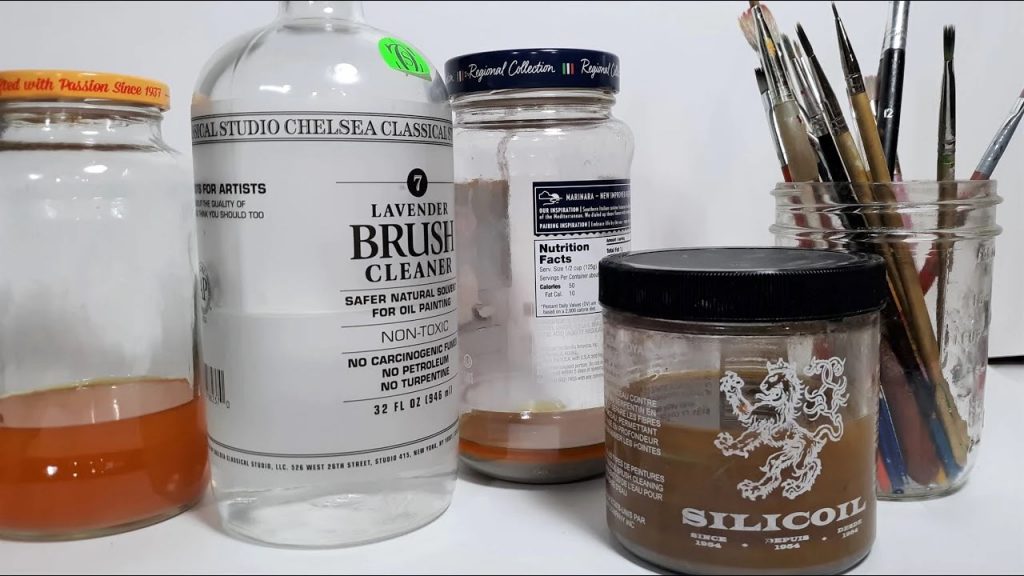
Start by wiping off the surplus paint with an old rag, paper towels, newspaper or similar paper (ever used amazon shipping paper?) Then use a jar containing a little of your preferred oil and dip the brush in and give it a back, forth and around dance, then use your hands to massage the oil into the bristles and a towel or rag to pull the oils and pigment out. Save the oil in the jar and reuse it. The sediment will settle in the bottom and after awhile you can pour off the oil on top to reuse it then throw the sludge out. Some folks use metal coils, grids or wire mesh in the bottom of their jars to be able to swish the brush on and keep the sludge at the bottom.
You can use a natural oil to clean and condition the bristles and handle as well, before the final wash. My personal preference for cleaning oil paint brushes is to use an oil or oily product because you will extend the life and condition of the bristles and also keep the wood handles from becoming brittle. Oils are a preservative. In addition, oils do a better job at reaching the whole length of the bristles and removing old paint and preventing layers of paint drying in the ferrule. Natural oils also benefit your skin.
Step two
Now you can finish either with another clean jar of oil for your final cleaning rinse. This jar of oil will last a long time because you have pretty well cleaned the paint out of the brush.
OR…
you can use a brush soap, such as “The Master’s brush cleaner” which works fabulously to rescue and restore sad hardened paintbrushes! Most paint companies carry their own products for water clean-up, and then there are the economy items that are just as effective such as; Murphy’s oil soap, old school and kind to your brushes as is fabric softener. There is a product called “Zest it” and another called “GOOP”, yep there are those who swear by it, because it is easy on the skin and conditions the brush bristles as well. Work one of these products into the brush and give it a good rinse in mildly cool to warm water, shake out the brush and dry with a clean cloth.
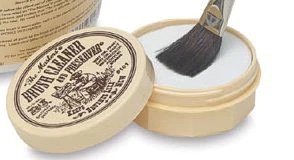
Both Goop and The Masters brush cleaner can be worked into the brush and left on to dry and then rinsed off before use for a really deep clean if you need to get hardened paint off.
It is not recommended that you soak brushes for a long time in water or oils (yes, some sites do say do this) for the brush bristles/hairs are held in by a glue and extended soaking and solvents can damage the glue which results in hair loss, as can using very warm or hot water to wash your brushes.
For more information
Here is a very useful technical article on oils:
Here are a couple of useful links. I hope this has been an informative and helpful article for you. Happy painting!
- read more about oil paints for beginners
- https://www.momsgoop.com/moms-goop-uses-tips-user-testimonials/2019/11/11/an-artists-brush-with-goop
