(Get free painting tips and plein air painting techniques sent straight to your inbox or on my social media.)
Use varying levels of focus and detail
When you are looking at a scene in front of you, your eye sees only one part of the scene clearly in focus, which relates to creating the focal point in your painting. You see the rest of the scene in a more generalized way using your peripheral vision, which should be more blurred and therefore more of a supporting role in your painting.
You need to keep the objects in the main focal point in your painting in sharper focus, compared with objects in other parts of the painting. This will make your painting far more intriguing and interesting for the viewer, because they can explore your painting and gradually discover the centers of interest that you have designed for them to look at more closely.
Avoid making your painting look like a photograph in which the whole scene is in focus. This will just tire our your viewers, giving them no areas in the painting in which they can rest their eyes. You also need to have a focal point in your painting so your viewers can see what inspired you to create the painting.
How to create varying levels of detail, and include a clear focal point in your painting
Two techniques you can use are:
1. Brush size
Use two brushes that have a great contrast of size and shape. Use the larger brush so you cannot create too much detail outside the main focal point in your painting. Use the small brush only in the focal area. This will make sure that you don’t add too much detail beyond the focal area.
2. Edges
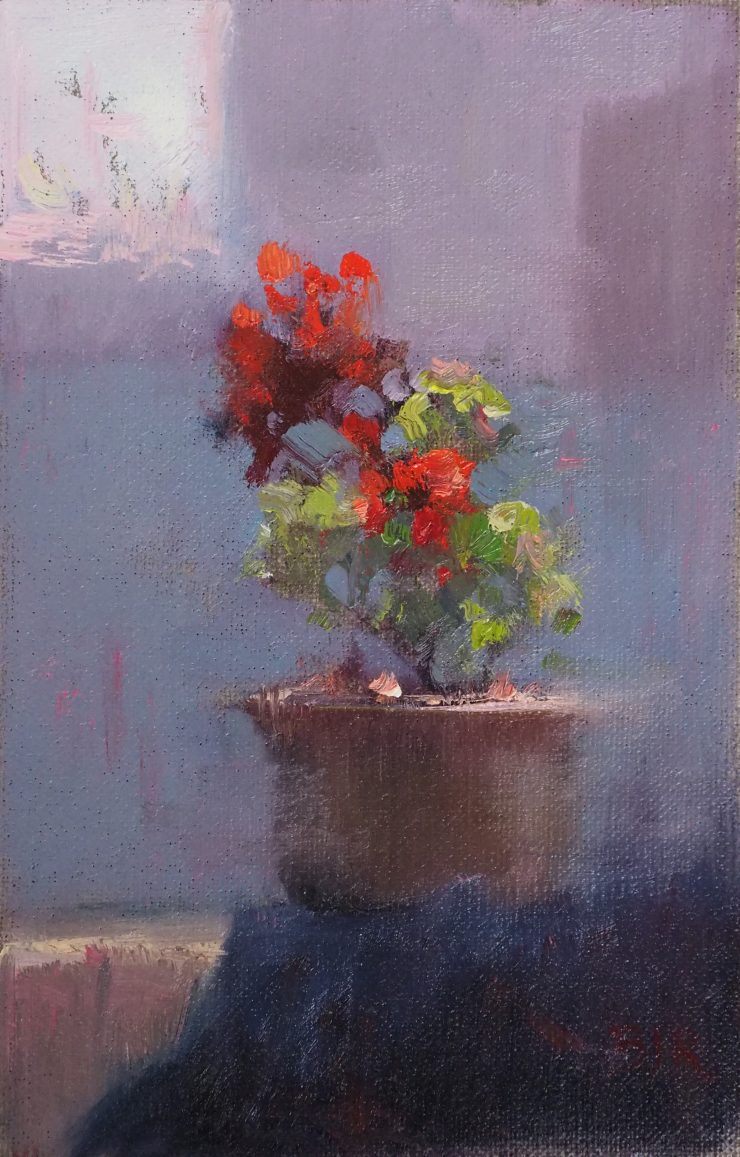
Use soft edges in the less important parts of the painting, such as in the right hand edge of the plant pot.
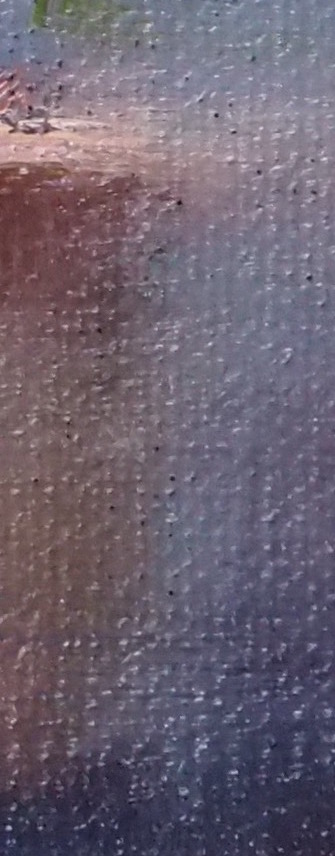
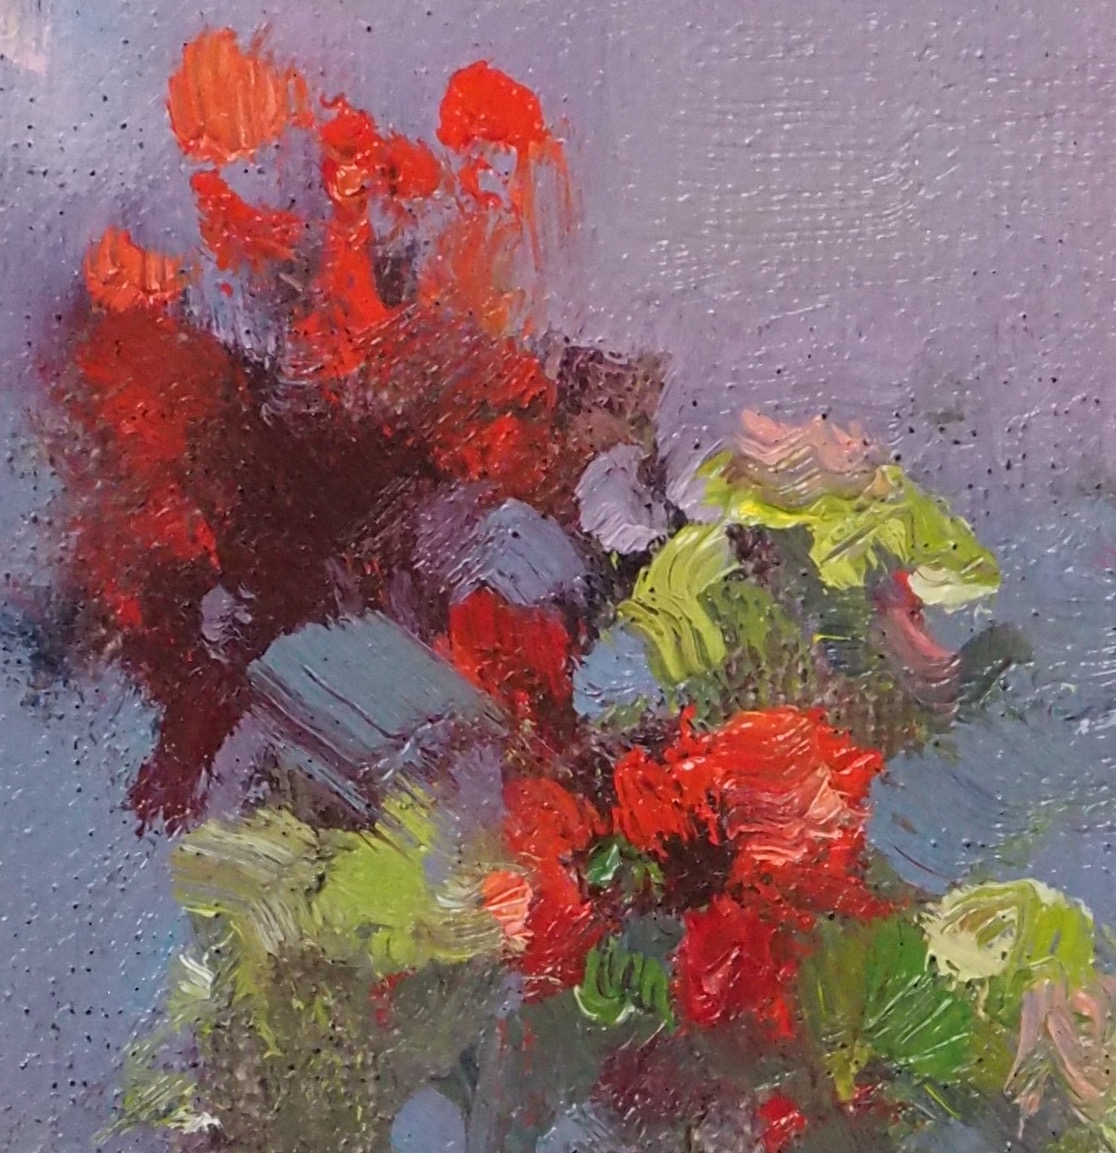
Here you can see the flowers and leaves in the focal point in the painting are much more defined than the plant pot and the table, which blend into the background. The areas of light hitting the pot also have some hard edges in their brushstrokes.
Tips
- Do not show the same amount of detail throughout your painting. Keep detail to the focal point in your painting, and use less detail away from the focal point.
- Generalize objects and shapes away from focal point in your painting by blending shapes of one value together into larger shapes.
- Use sharper edges in and around the focal point in your painting, and softer edges in other areas of the painting.
- Be very careful about key perspective lines. Make them very accurate, even if they are in looser, less defined areas.
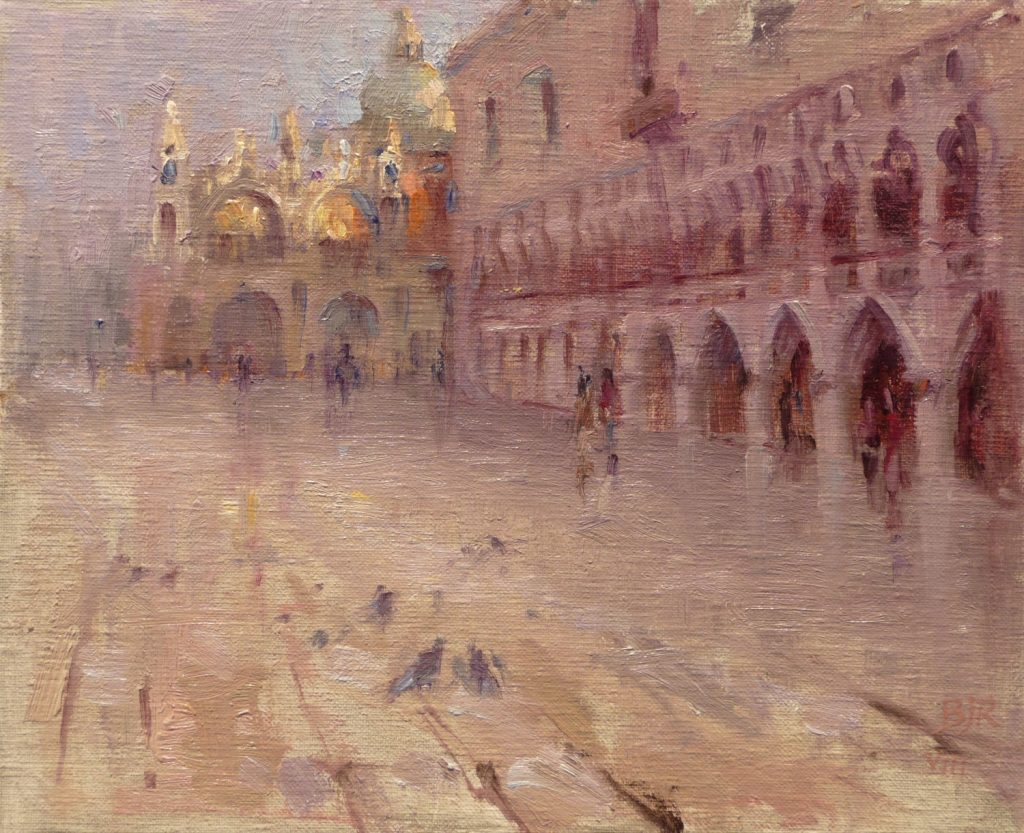
Examples of sharper objects in the focal point in your painting
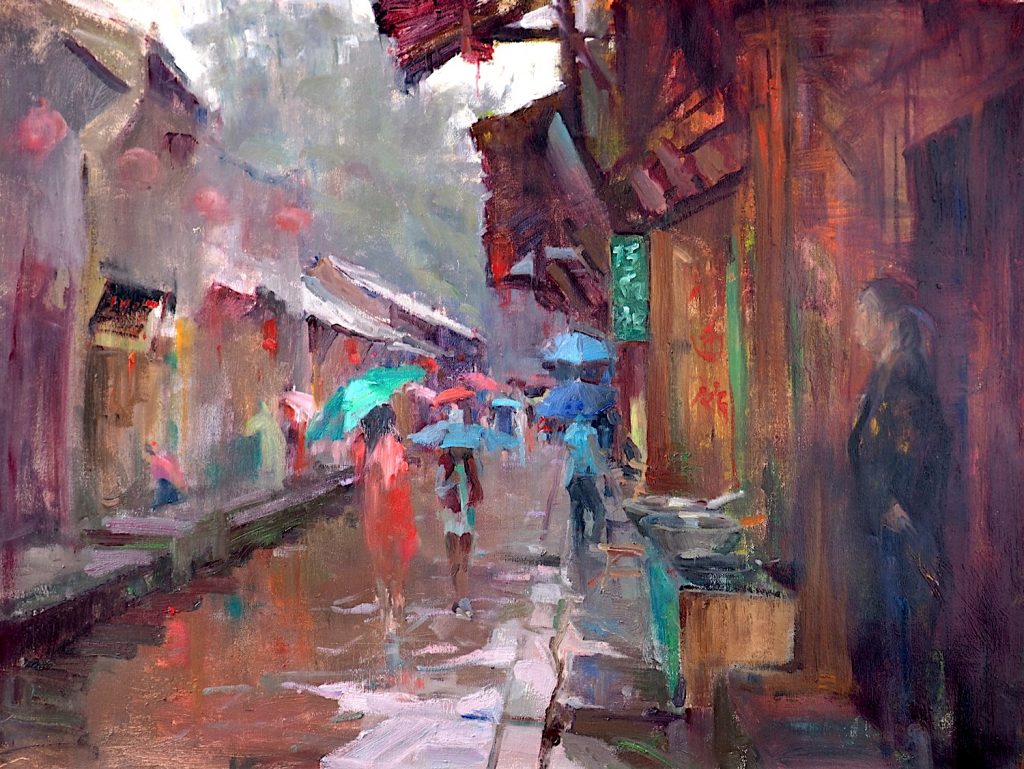
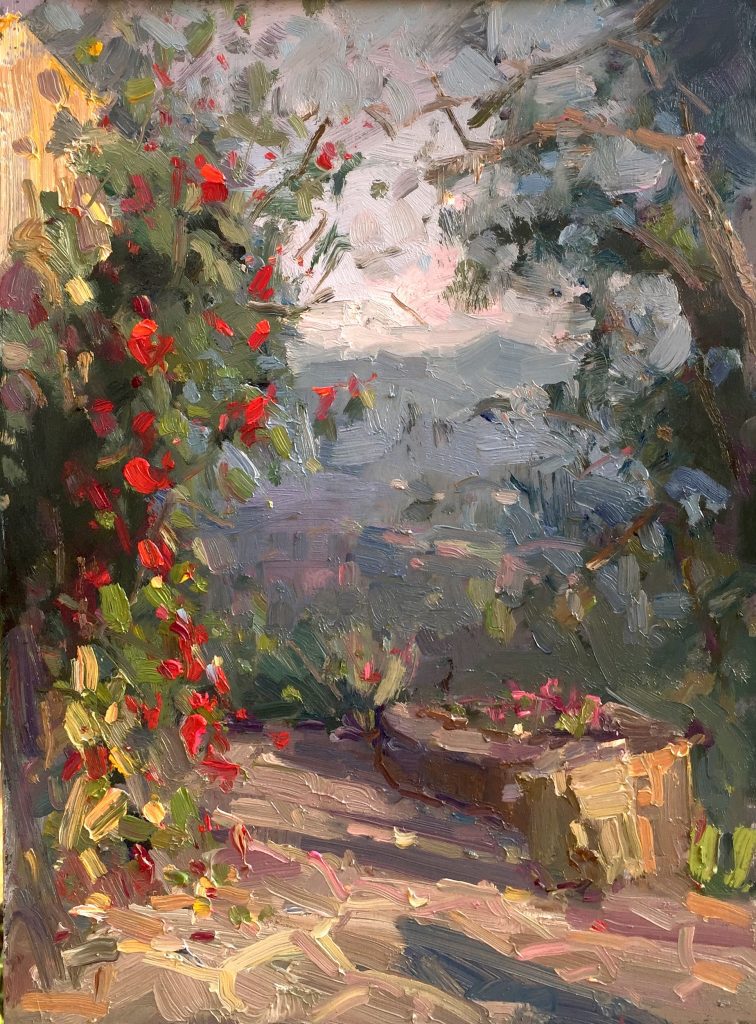
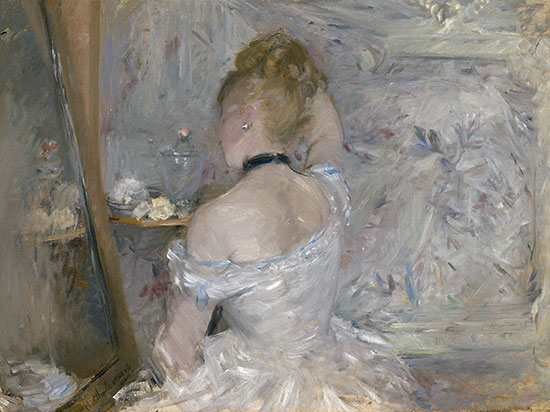
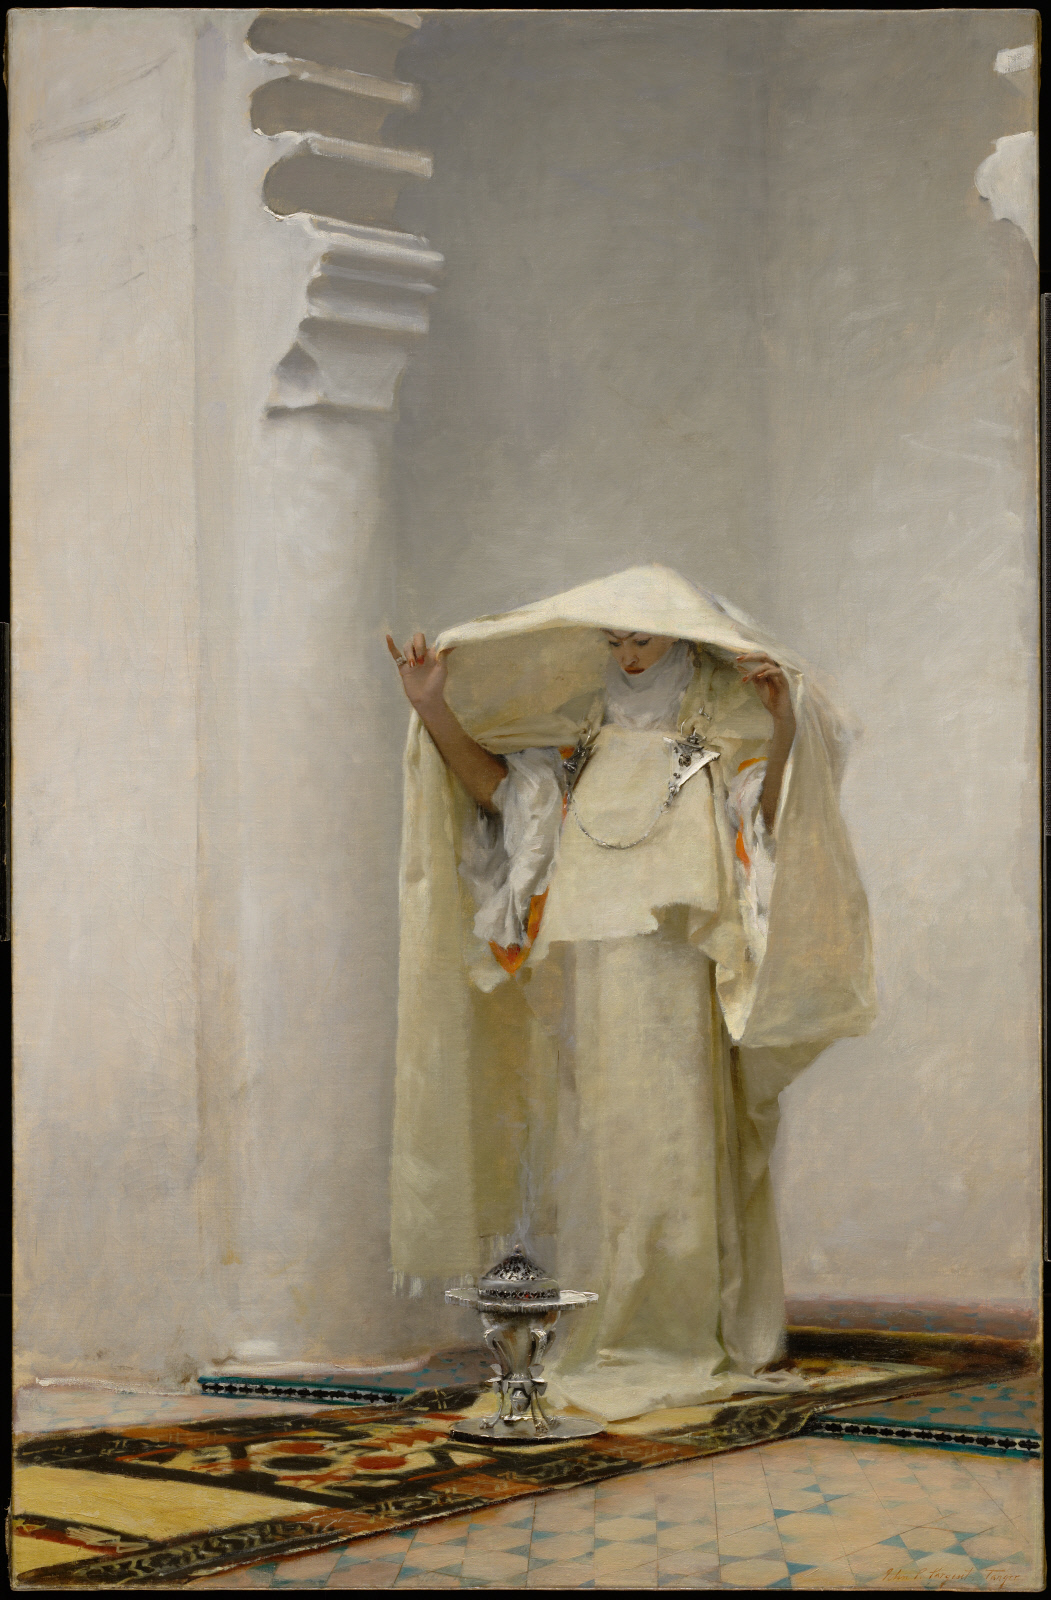
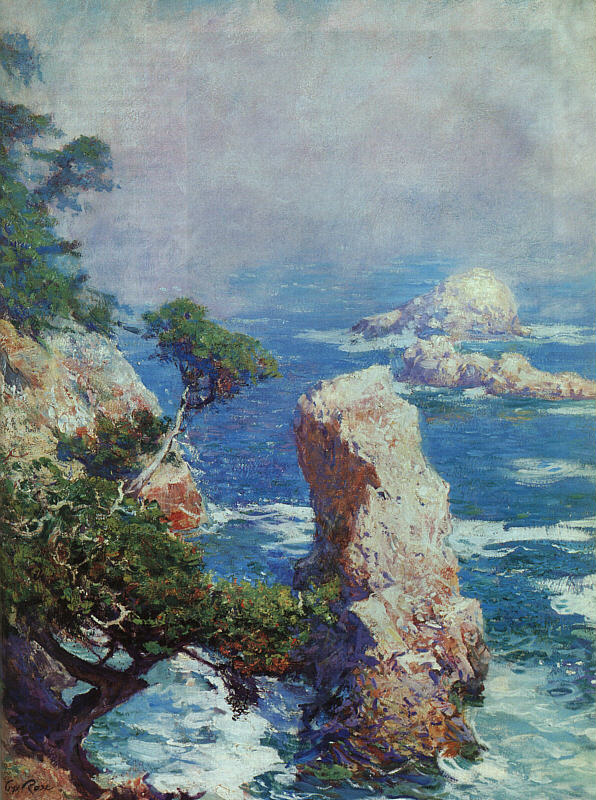
Old master examples of sharper objects in the focal point in your painting
Thank You
Thank you for taking the time to read this article. I hope you find it useful. If you would like to get free painting tips by email, please sign up for my free tips newsletter.
If you are interested in a structured approach for learning how to paint, take a look at my online painting classes.
Happy painting!
Barry John Raybould
Virtual Art Academy
What The Students Are Saying



Your course sounds wonderful! I’m working in pastels. You mention at least once that I would learn about the use of pastels if I take your course. Is that true! THX
Hello Cynthia,
Thank you for your question. I have several students working in pastel to do the Apprentice Program. The way I designed the course is that I focus on explaining all the fundamental principles you need to know about to create beauty in your paintings, and these principles apply to pastels just as they do to other media, such as oils or watercolors. So for this reason, the vast majority of the online painting classes apply equally to all media.
Barry