(Get free painting tips and plein air painting techniques sent straight to your inbox or on my social media.)
Introduction
What is plein air painting, and how do you get started? Here are my recommendations for equipment and supplies, plus my 16 tips and techniques for successful plein air painting, to save you time, money, and eliminate the frustrations of outdoor painting. I also share with you my step-by-step alla prima approach for plein air painting.
Why I Love Plein Air Painting
Plein air painting is a wonderful experience. There is nothing like being outdoors enjoying our world and capturing its beauty.
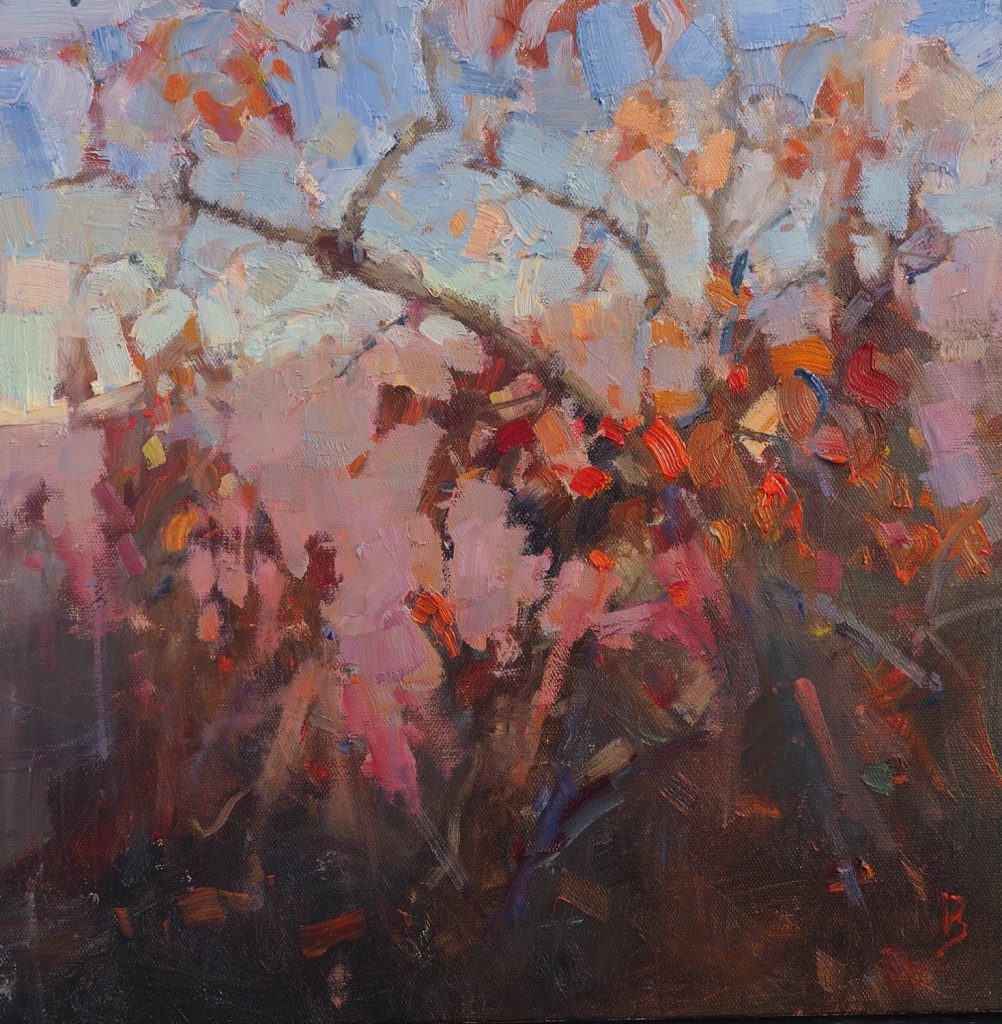
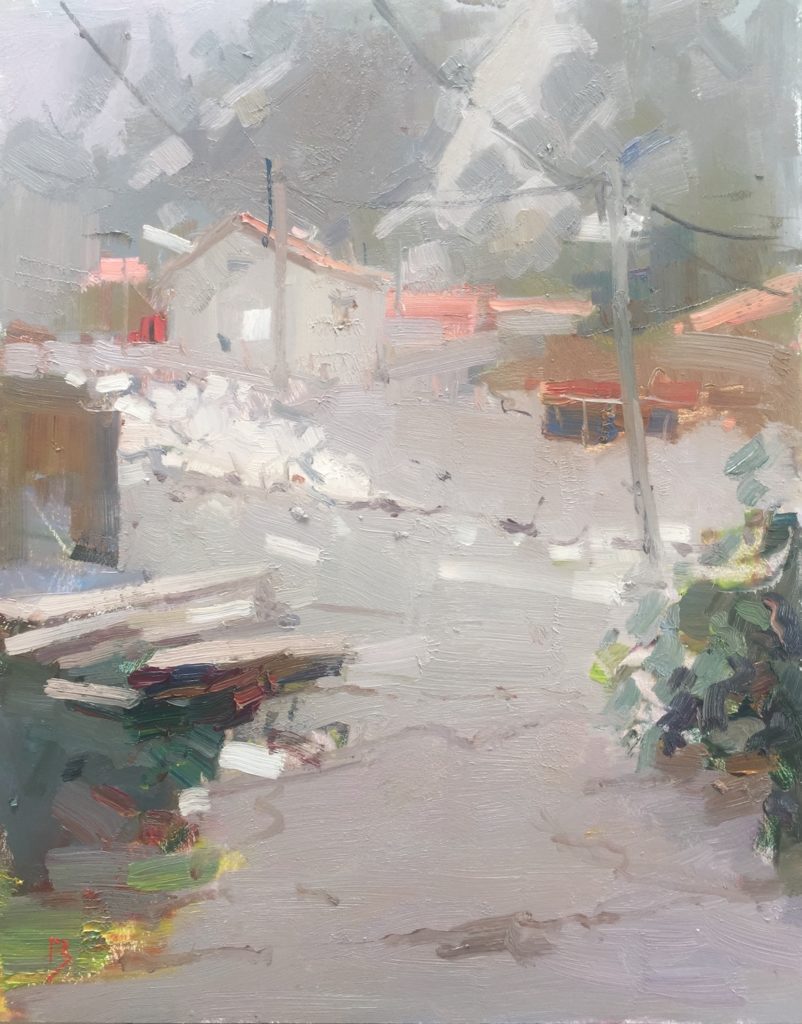
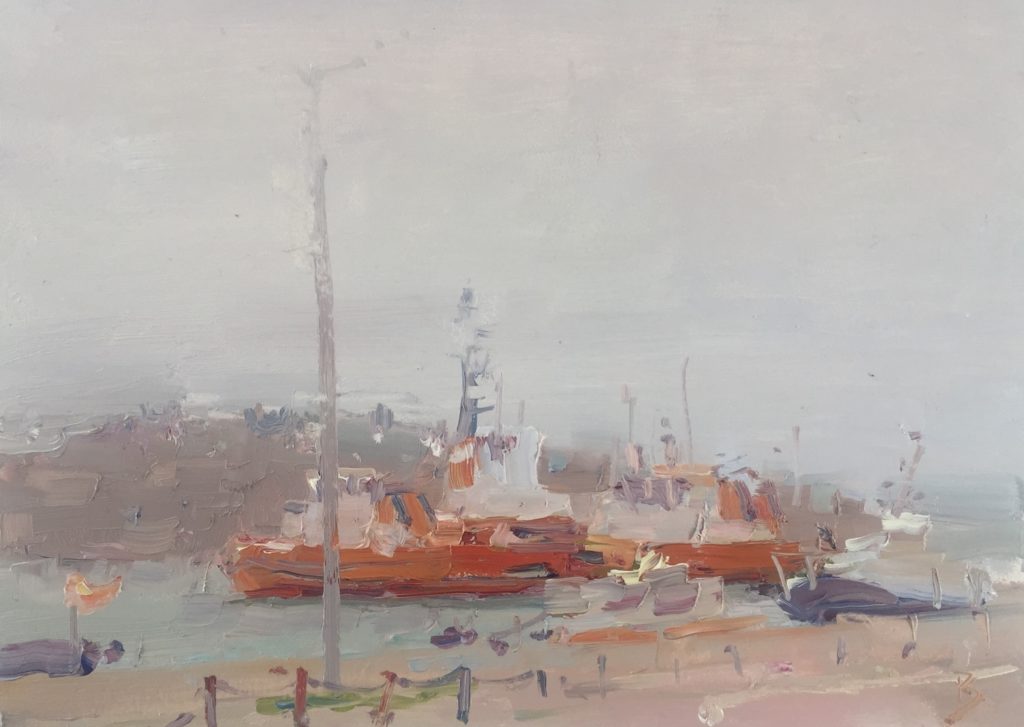
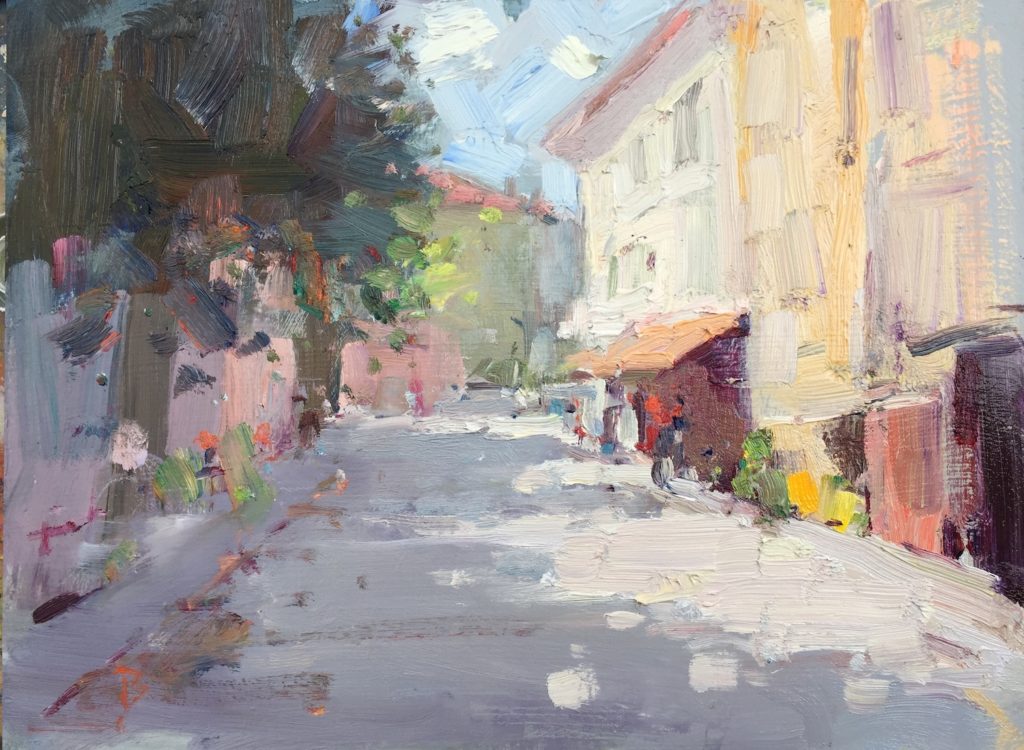
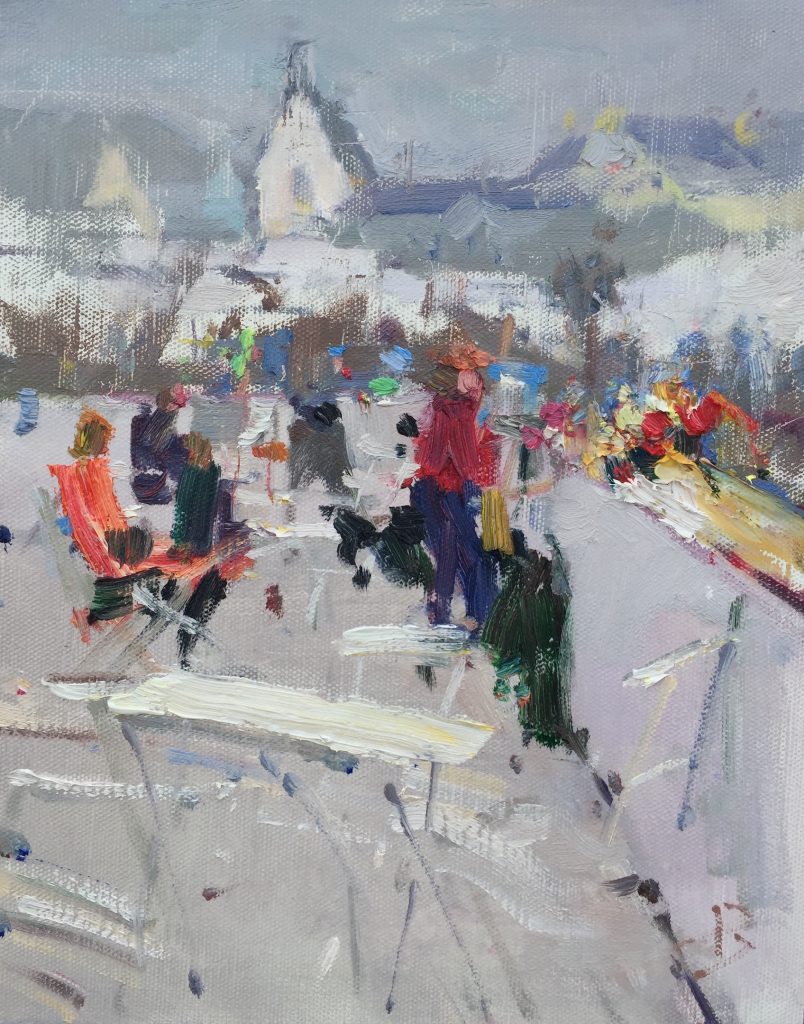
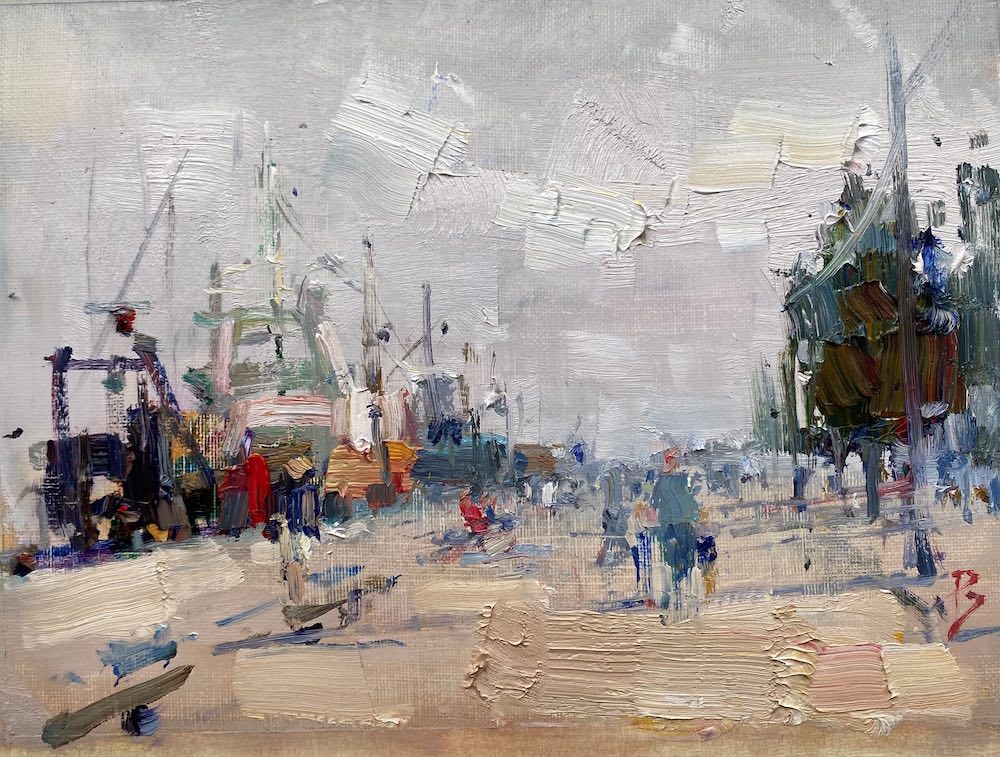
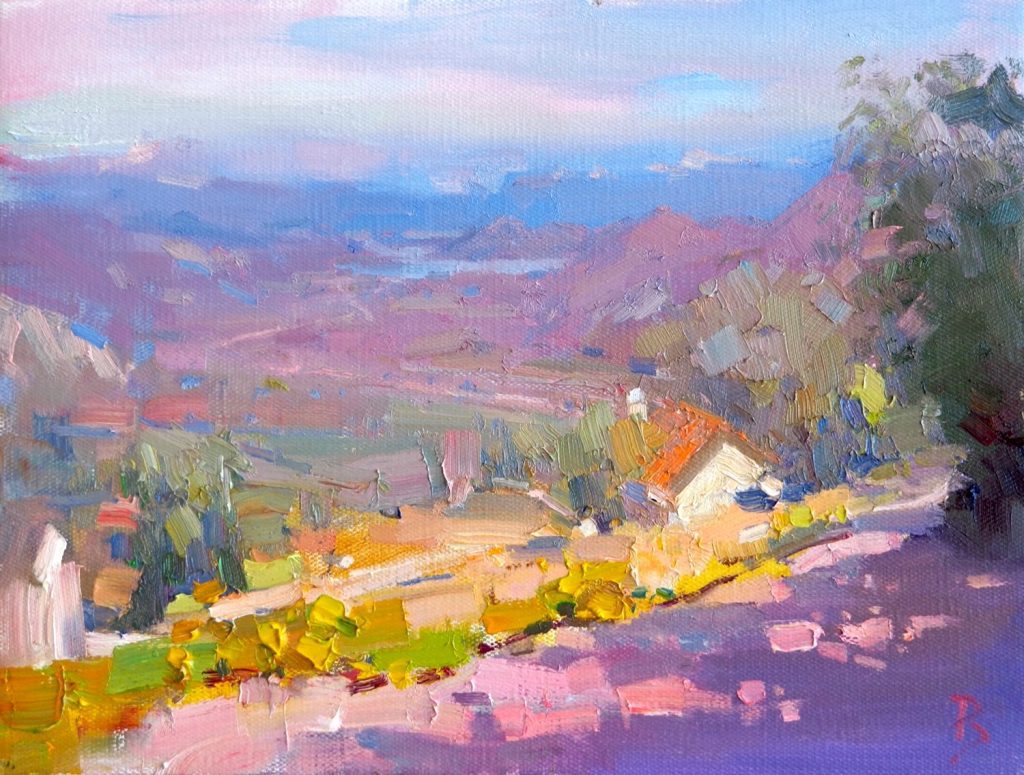
Here is some of my recent artwork. All of these paintings were completed plein air.

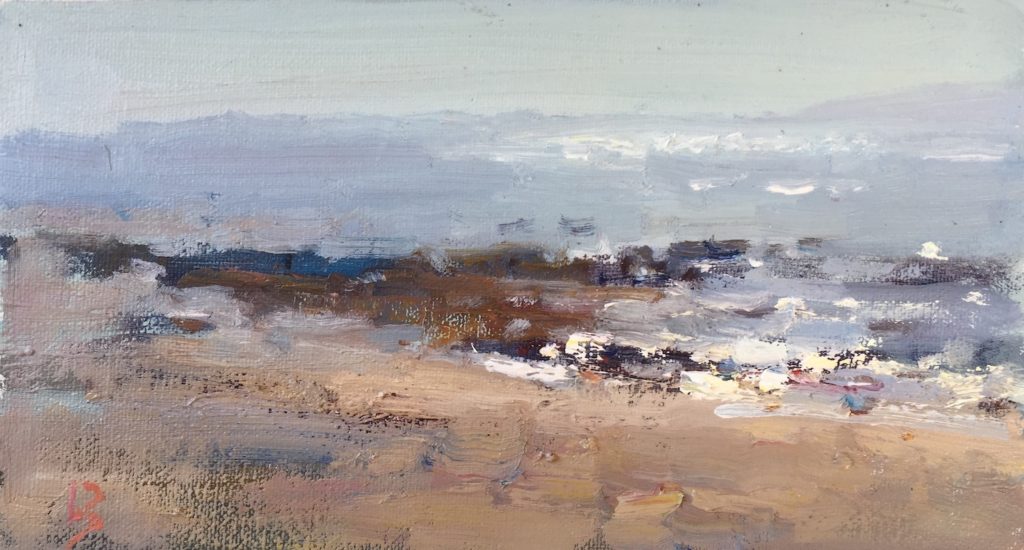
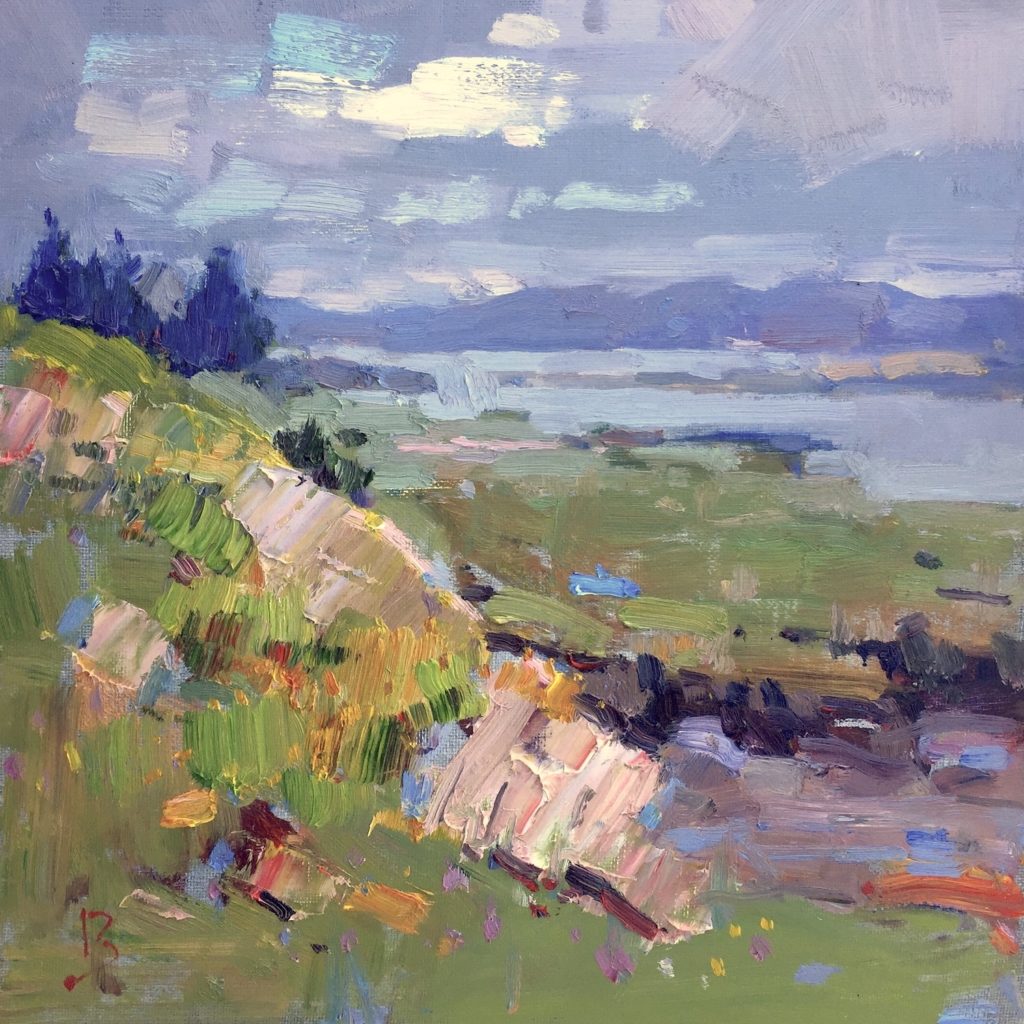
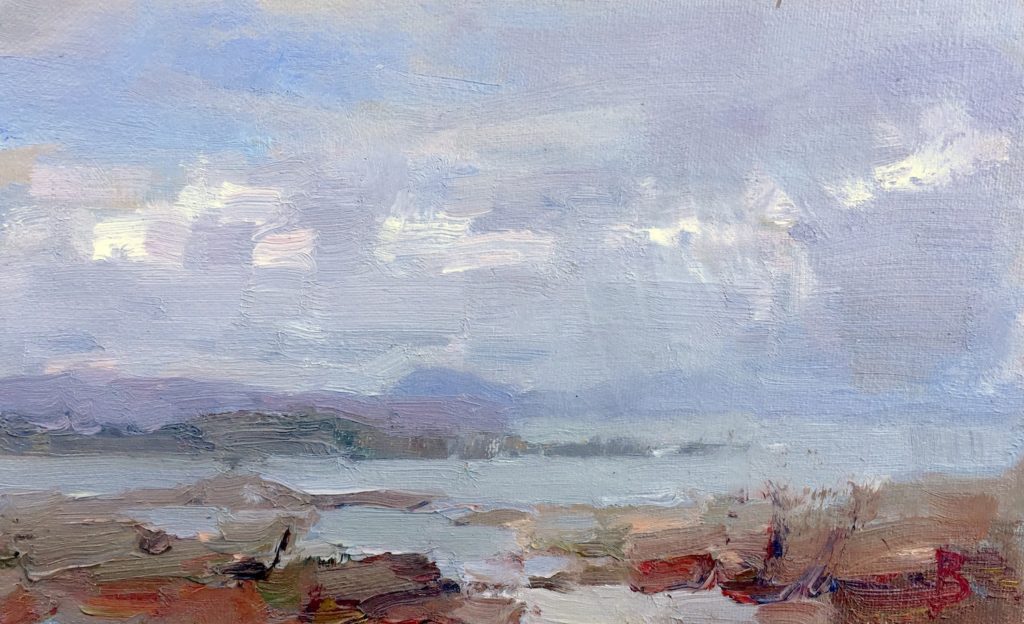
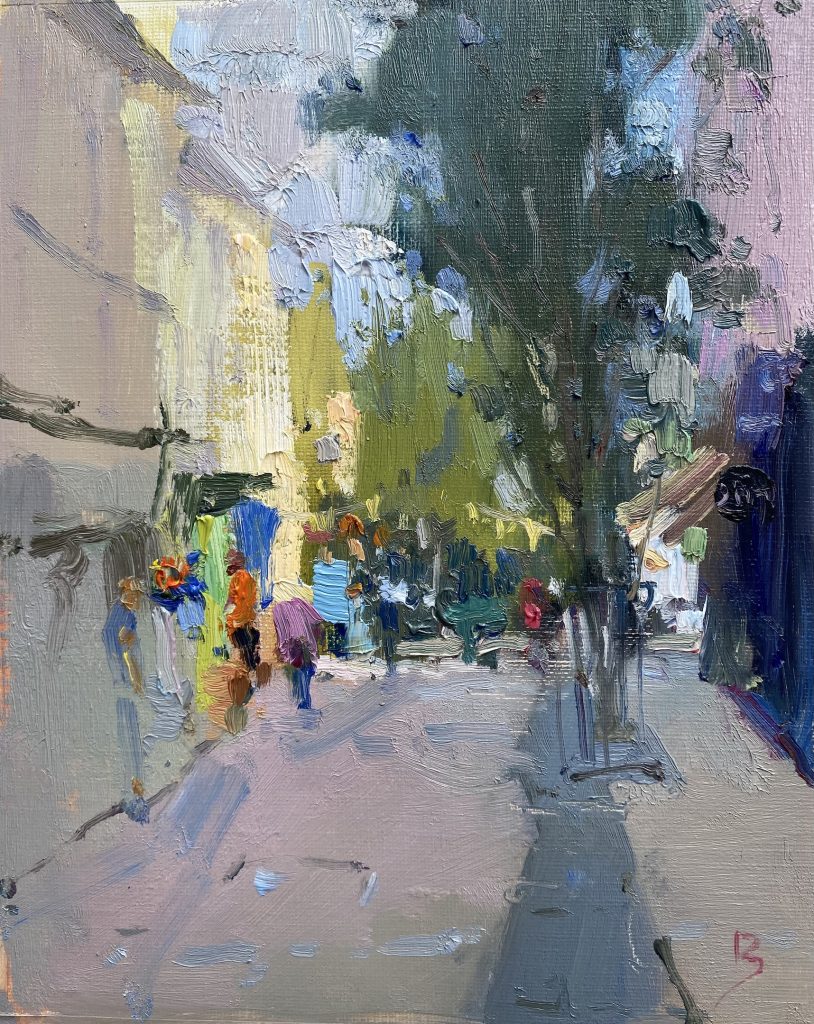
What is Plein Air Painting? – A Definition
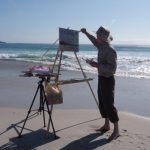
Plein air painting is the act of painting outdoors from nature. This is in contrast to painting inside in the studio. It is the best way for an artist to learn to see the true colors of nature, and also to capture the mood and feeling of a place. Artists throughout history have gone outdoors to paint to better understand the landscape. Corot and Monet were two well known artists who worked this way.
What Equipment Do I Need for Plein Air Painting?
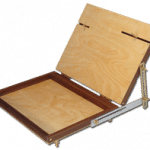
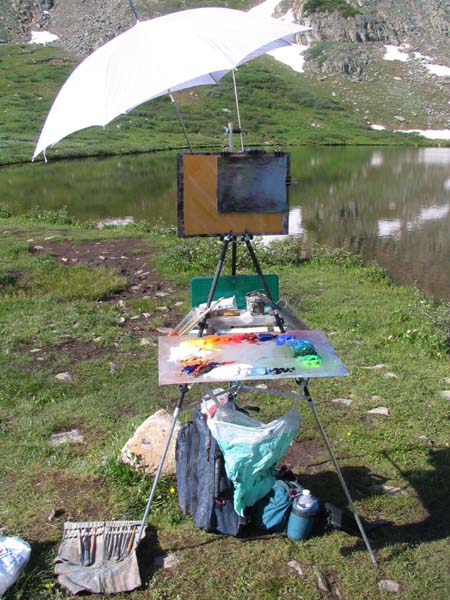
You will need some kind of pochade box or plein air painting easel, paints, a drying box to keep your paintings from touching each other while they are still wet, and an umbrella for protection from the sun.
For more information see:
Guide to Pochade Boxes
Guide to Plein Air Easels
What Type Of Easel Is Best For Plein Air Painting?
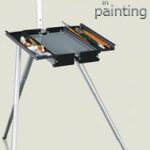
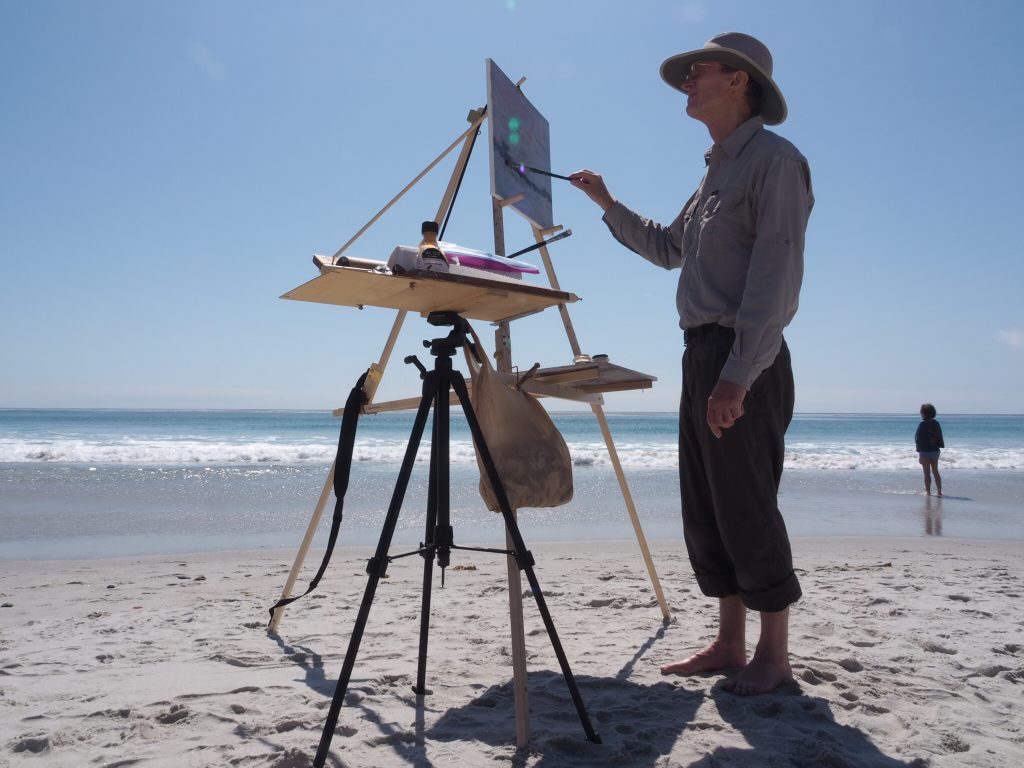
The most important consideration for an easel for plein air painting is weight. It needs to be light as you may be carrying it long distances. There are some small versions of the traditional French Easel design, and also purpose made lightweight aluminum easels.
For more information see:
Guide to Plein Air Easels
What Are The Most Important Plein Air Painting Techniques?
Getting Started and the Rules for Plein Air Painting
- to work a lot faster to capture your subject matter
- a light set of equipment that you can carry outdoors, and a reduced amount of supplies (paint, medium, painting supports, etc)
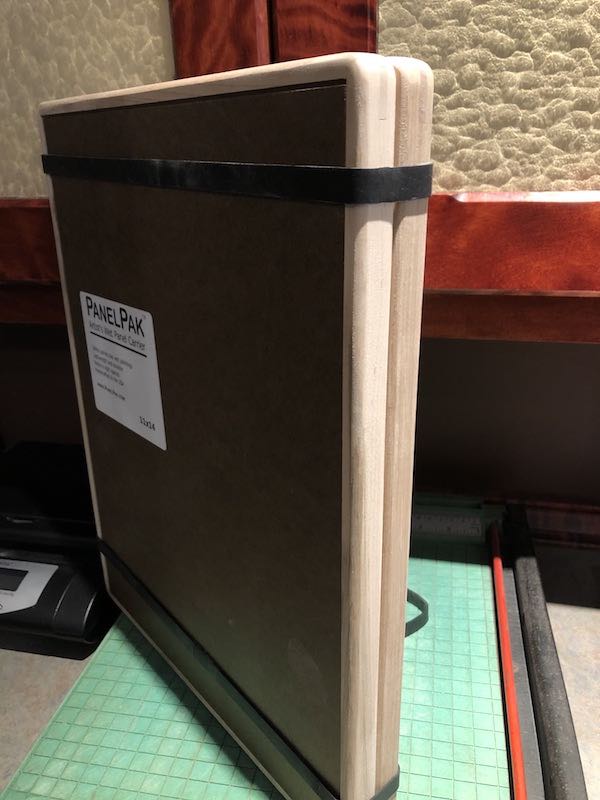
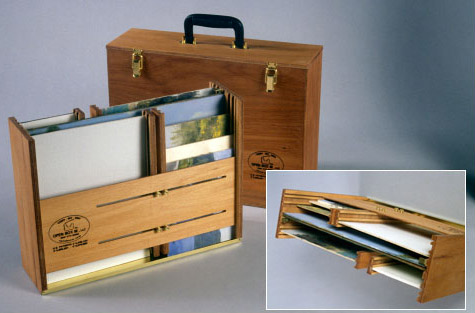
- to figure out how to get your wet paintings and palette back home
Work quickly
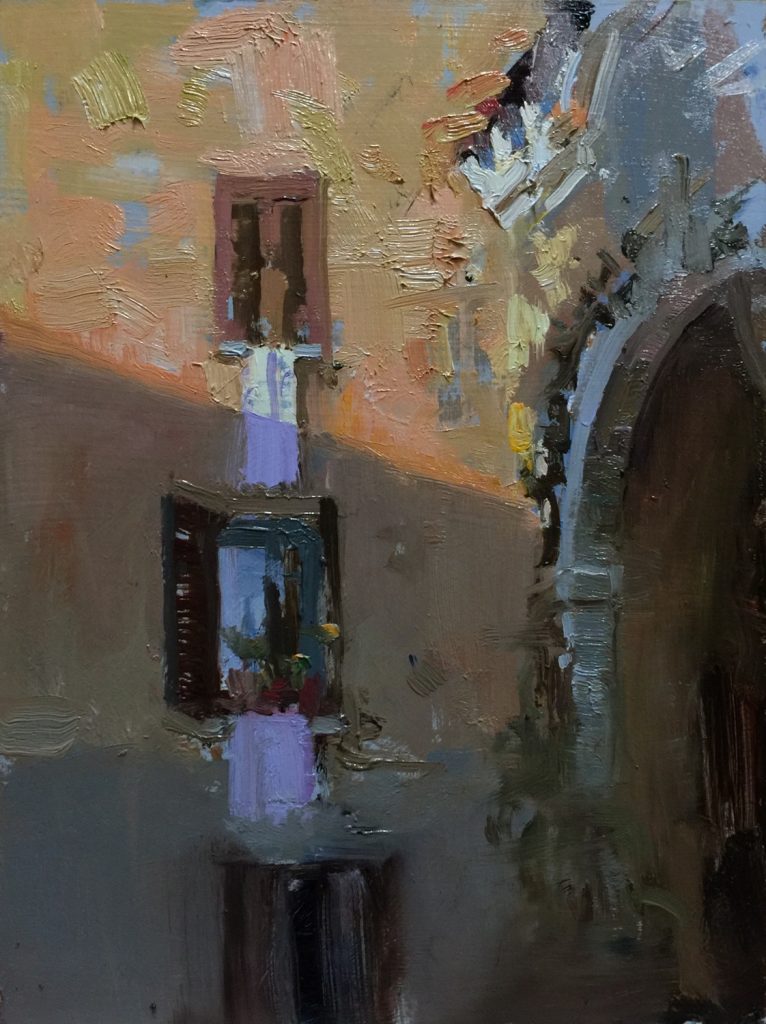
Limit the weight of your equipment and supplies
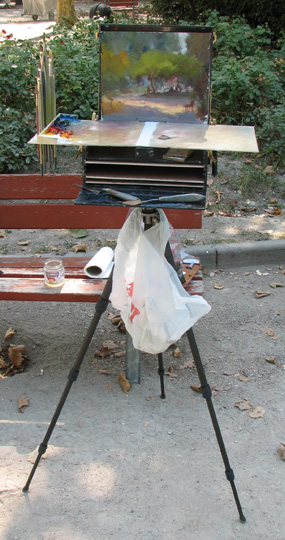
Carrying your paintings and palette back to your studio
Plein Air Painting Equipment and Supplies to Take on Your Plein Air Painting Trips
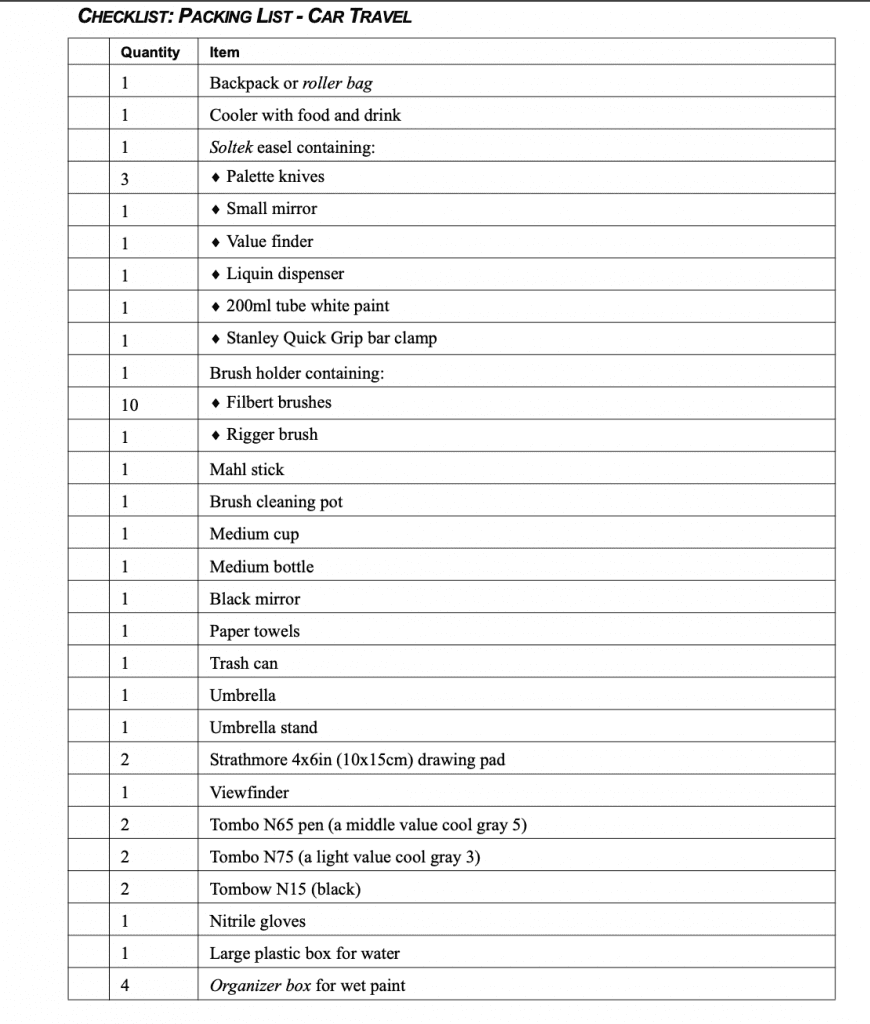
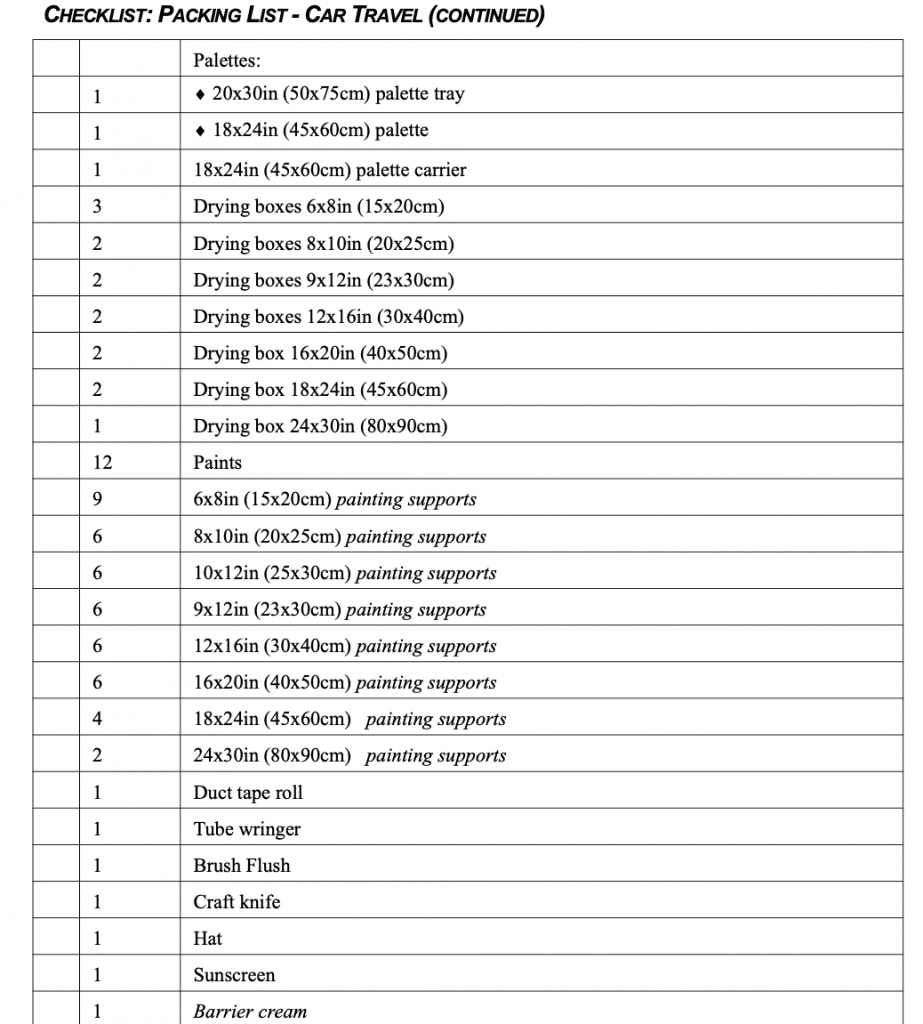
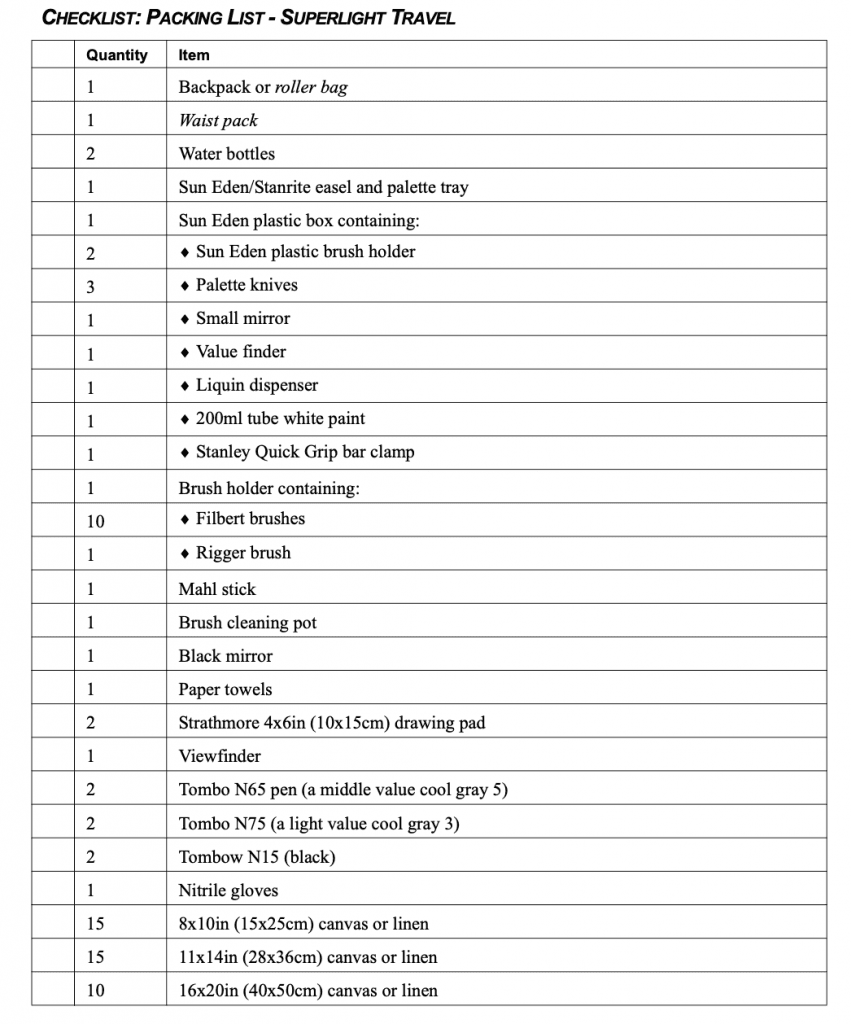
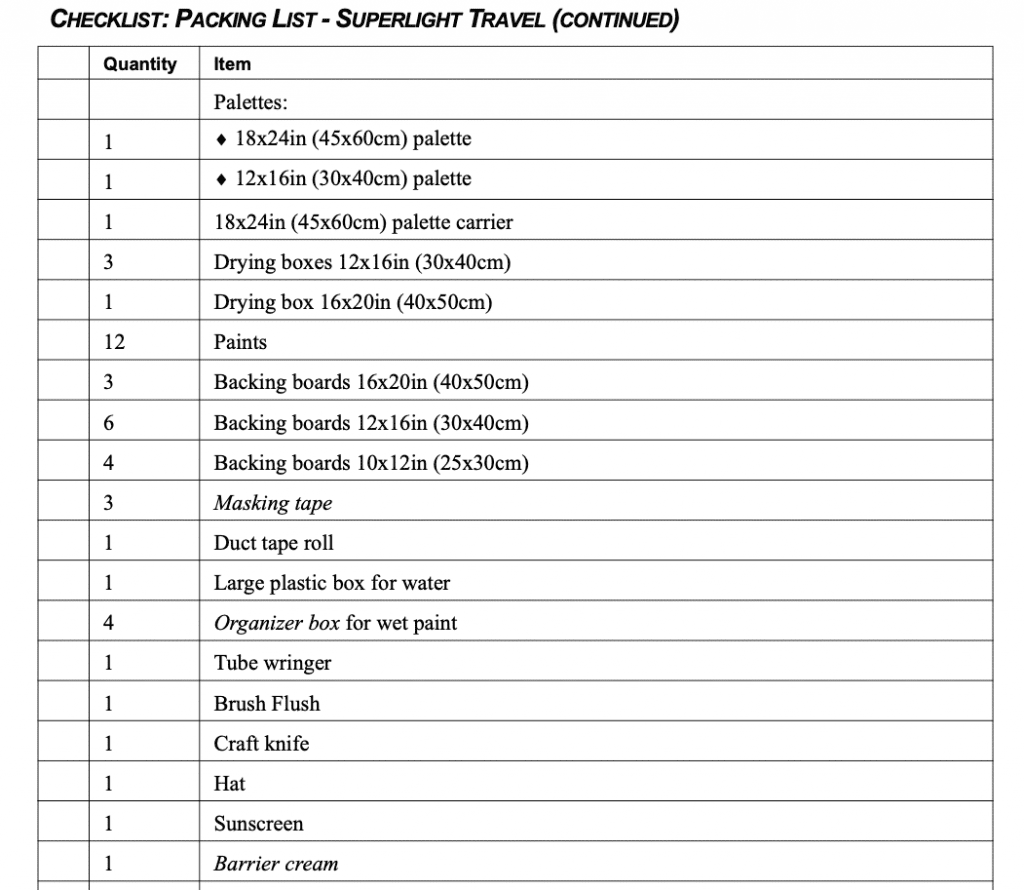
Over the years of plein air painting, I have managed to pare my equipment and supplies down to the lightest but most useful items so that I still have enough to create colorful plein air paintings. I have created two separate lists that will hopefully help you on your local plein air and longer distance plein air painting trips.
For more detailed information about the items listed below, see Process: The Complete Guide To Alla Prima Painting For Oil, Acrylic, And Watercolor Painters in the The Apprentice Program Curriculum.
Plein Air Equipment and Supplies for Car Travel
The first list of plein air equipment and supplies is for those of you who want to get out of your studio and explore your local area for possible plein air painting locations. All of these plein air painting items will fit easily into the trunk of your car, or on the back seat. It gives you the most flexibility to paint many plein air paintings, with a fairly large palette of paints, but with a reasonable light setup so you can carry it out into the landscape away from the car.
Plein Air Equipment and Supplies for Air, Train, or Bus Travel
If you are going further afield on a plein air painting holiday, plein air or studio workshop, or even visiting friends and family away from home, you will need a very lightweight set of equipment and supplies. The items in this list are a superlight set of plein air equipment and supplies that you can take with you when you do not have much weight allowance, that I have developed over the years. It is especially useful when you are going abroad and travelling by plane.
Data Sheet to Use When Taking Oil Paints on a Plane
You can print out the following page and put one of the printouts in each package of oil paints in your checked baggage. This will prevent security from removing the paints.
If you can get hold of the MSDS data sheet from the manufacturer of your oil paints, can should also put it in your suitcase with your the paints in case it is opened by security.
My Top Plein Air Painting Tips
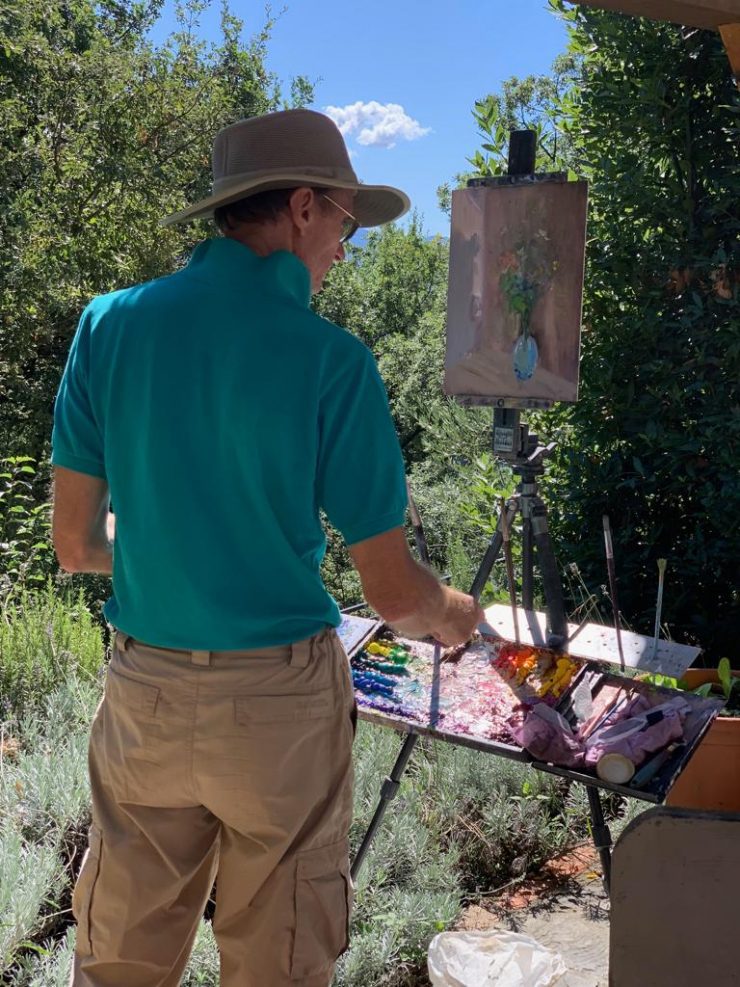
- Travel light. The most important thing is to travel light so that you can more easily get to places and be comfortable. Remove everything you don’t really need from your pack and keep only the essentials. Choose a setup that is most suitable for you in terms of weight, height adjustment, and carrying capacity.
- Simplify your palette. A really basic plein air painting technique when you are first starting out is to use a smaller number of colors. A limited palette or warm/cool primary palette is a good choice. See my palette color advisor tool.
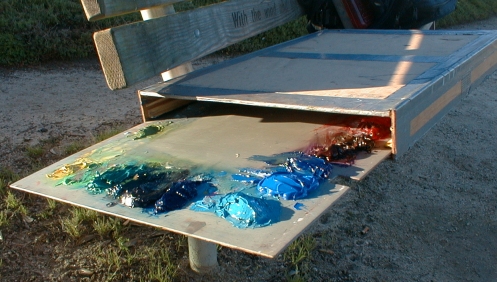
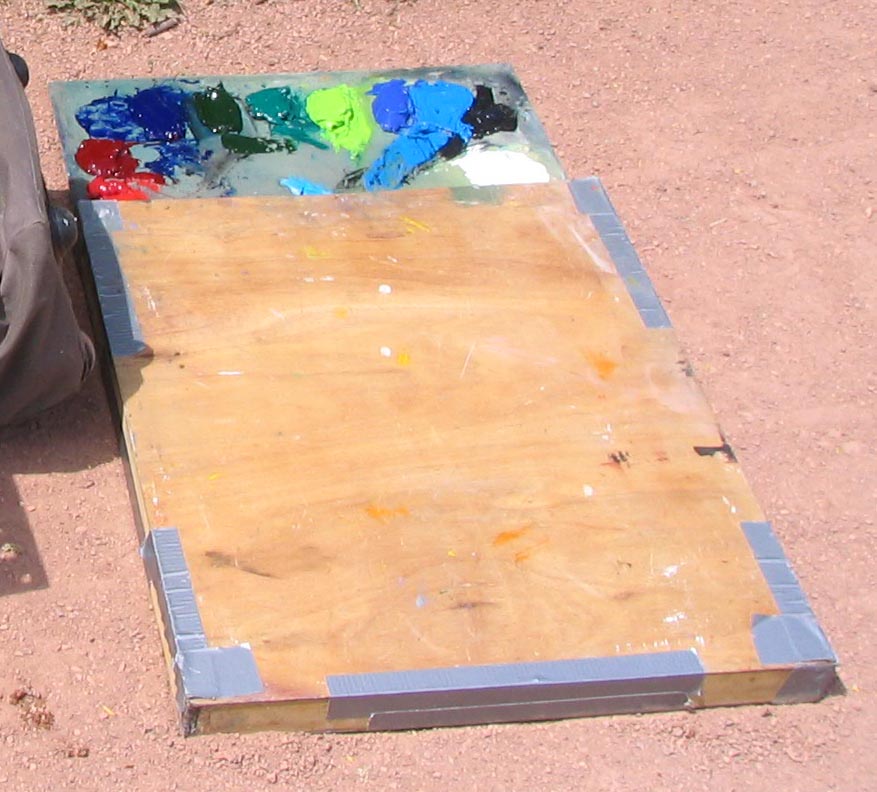
- Don’t carry paint tubes. The only paint tube I bring with me on painting trips is white. I pre-prepare my palette with generous amounts of paint before I leave my studio, loading up my palette with enough paint for the day. This has two benefits. It saves a tremendous amount of weight from carrying heavy pigments that you will never use. And secondly, it lets you concentrate more on your painting, rather than having to keep stopping to squeeze out tubes of paint.
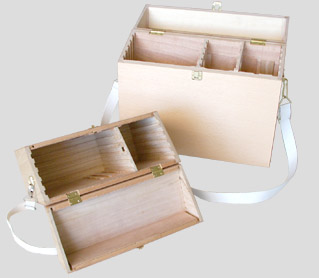
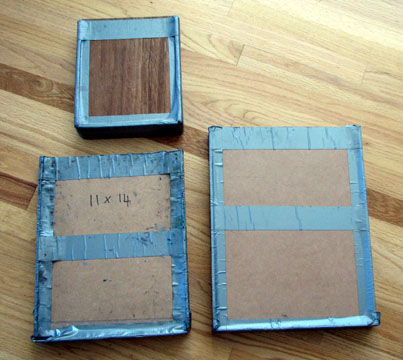
- Use a wet panel carrier or drying box to carry your wet panels. You can buy or make simple systems for carrying wet panels so your paintings do not get damaged. There are two basic types: the frame type with a rabbet. And the slotted box designs. Some Pochade Boxes can also have places to store paintings.
- Wear neutral colors. Sunlight reflecting off your clothes onto your canvas can affect your perception of color. For this reason it is best to wear neutral colored clothing.
- Wear neutral colored sunglasses while painting. Many people say do not wear sunglasses at all while painting. This is because it can affect your color perception. However, prolonged exposure to excessive sunlight UV radiation can damage your eyes over the long term. So you may want to take that into account. However the sunglasses will affect both your view of the scene, and your perception of the colors on your palette to the same degree. So they effects will cancel out. However tinted sunglasses might take out one hue from the spectrum so you can’t see that hue. It is better therefore, if you are wearing sunglasses to use neutral colored lenses.
- Wear a hat. This protects your eyes, and stops glare that prevents you seeing colors accurately.
- Don’t hold your palette in your hands. It is best to use a palette support such as an easel butler or leder easel to support your palette. This keep your hands free to change brushes or use a rag.
- Use fresh colors. Working with partly dried pigment makes painting more difficult in a situation in which speed is important because of the changing light . Color that isn’t fresh also does not adhere very well to the canvas. I use a special technique for preventing my oil paints from drying out.
- Prepare for wind by using a sturdy plein air easel or pochade box. If you do not have a sturdy plein air easel or pochade box/tripod combination, the whole setup can blow over in the wind.
- Use lightweight painting supports. I use gatorboard panels from New Traditions Art Panels for paintings measuring from 8×10 inches to 24×30 inches. I use Claessens oil-primed linen, style 12 or 13, for smaller works and style 15 for larger works. Gatorboard does not warp like wood panels in humid environments. I have also recently found aluminum painting panels, much better if you are a serious artist.
- Use an umbrella. Use a good umbrella to shade your artwork and your palette, and preferably you too. I recommend Artwork Essentials for a good plein air umbrella to attach to your plein air easel or tripod. However if you are working near a car, it is best to use a much larger umbrella that mounts on a device you fix to the ground. I use an earthworm umbrella stand. This has a spiral screw that you screw into the earth. If you don’t have an umbrella your perception of temperature is thrown off and the color often does not look good when you bring your painting home. Also you tend to paint far too dark if you are working in direct sun.
My Top Plein Air Painting Techniques
- Use an imprimatura on your canvas. To keep your paintings fresh here is a useful plein air painting technique: put a brushstroke down and leave it. If you don’t have an imprimatura on your canvas you will have small spots of distracting white canvas showing between your brushstrokes. An imprimatura also helps you judge values outdoors more easily.
- Keep your medium clean. Working with dirty medium can contaminate your colors.
- Plan the changes in light. The direction from which the light is coming from affects the shape of cast shadows in your composition, and which planes are in the shade and which are in the light. So as the sun moves the shapes you designed as part of your composition could completely change and ruin your initial design concept. Also even if you are comfortably in the shade now, you could end up being roasted in the open sun in an hour or so and find yourself too uncomfortable to paint. So before you start to paint, a good plein air painting technique is to see which direction the sun is moving, and estimate how long you have before your composition changes drastically. You can then decide to either move or paint the part that will change first. Once you have committed to a certain light condition, if the light changes, either stick to your original idea, or stop for today and come back tomorrow to the same place and at the same time.
- Use notan sketches. Do a few notan sketches to ensure your composition is going to work in advance before you waste a few hours on a composition that can never work. You will often find that a scene looks good when you first see it, but when you start to paint it, you run into problems. Notan sketches are great for selecting the best scene, or part of a scene that will give you the best composition.
- Follow my Alla Prima approach.
The Alla Prima Approach for Plein Air Painting
The plein air painting technique I use for creating a painting is the alla prima painting approach. Some artists call this the wet-on-wet technique, but I like to use the term alla prima (Italian, meaning at first attempt) because it requires a fast way of working, and the painting has to be finished before the first layers have dried. It involves covering the canvas as quickly as possible in order to establish the color relationships before they change. The alla prima approach is the one most commonly used by master plein air painters.
What is the Alla Prima Process?
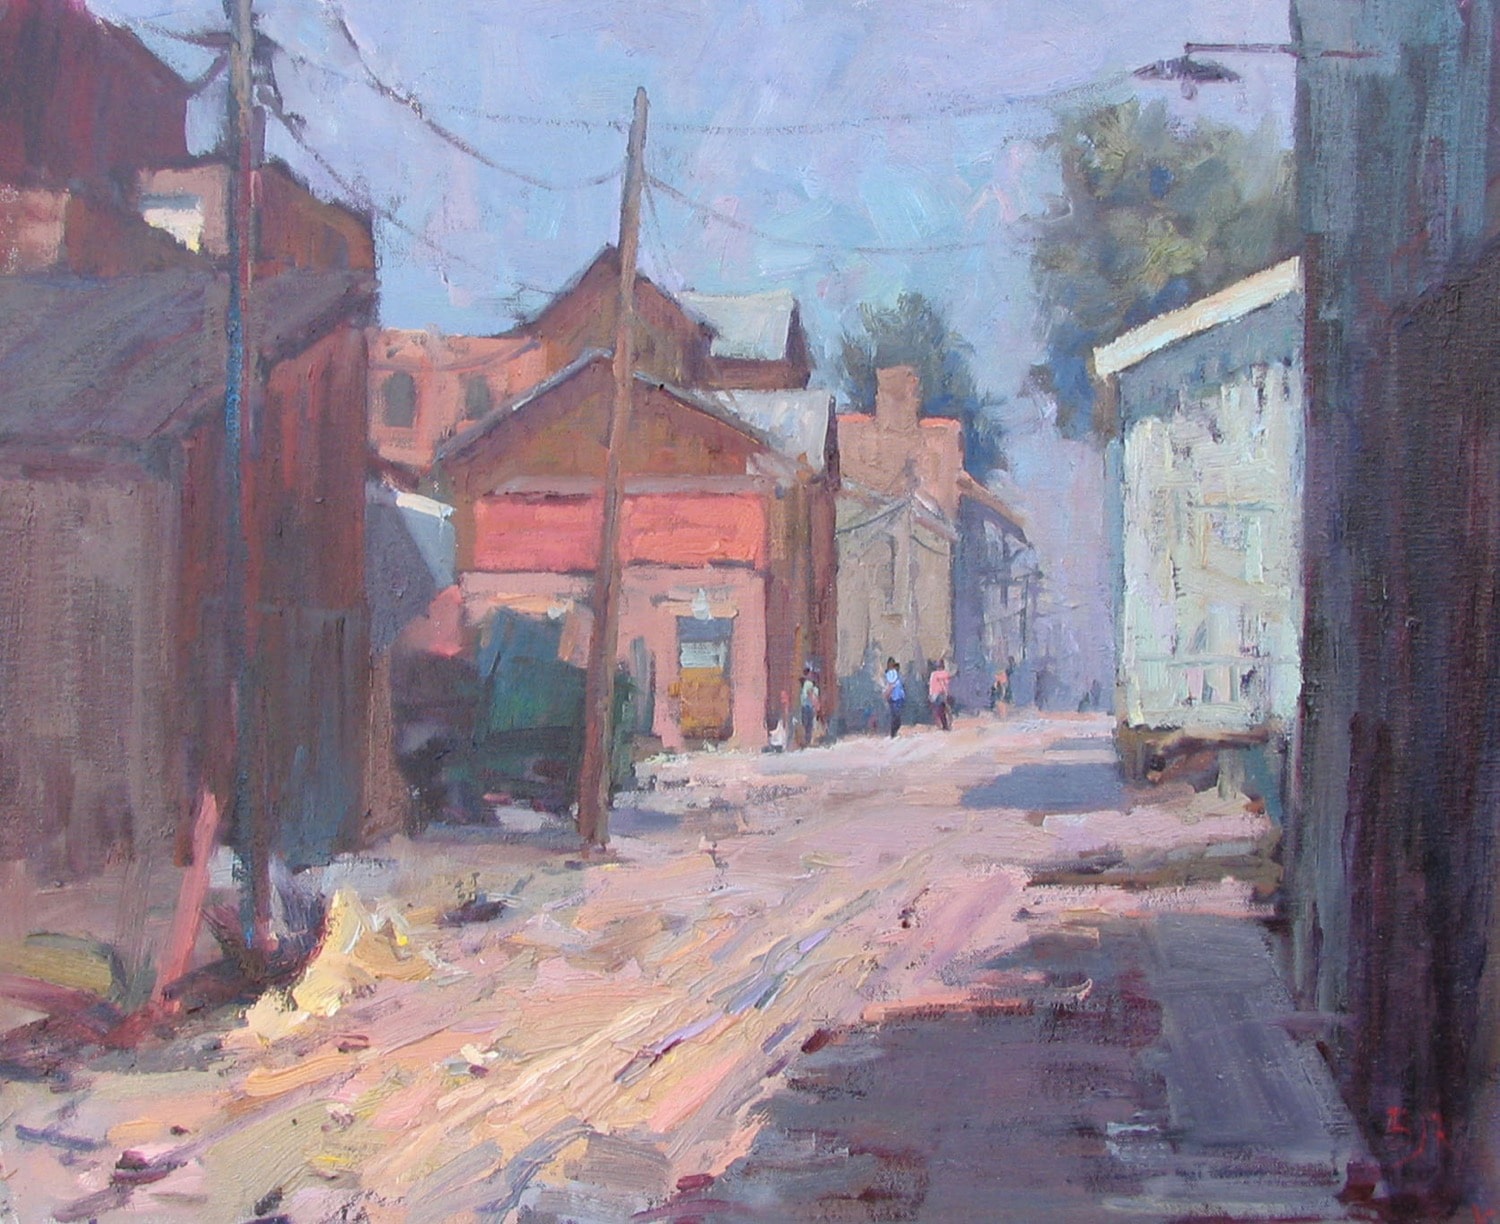
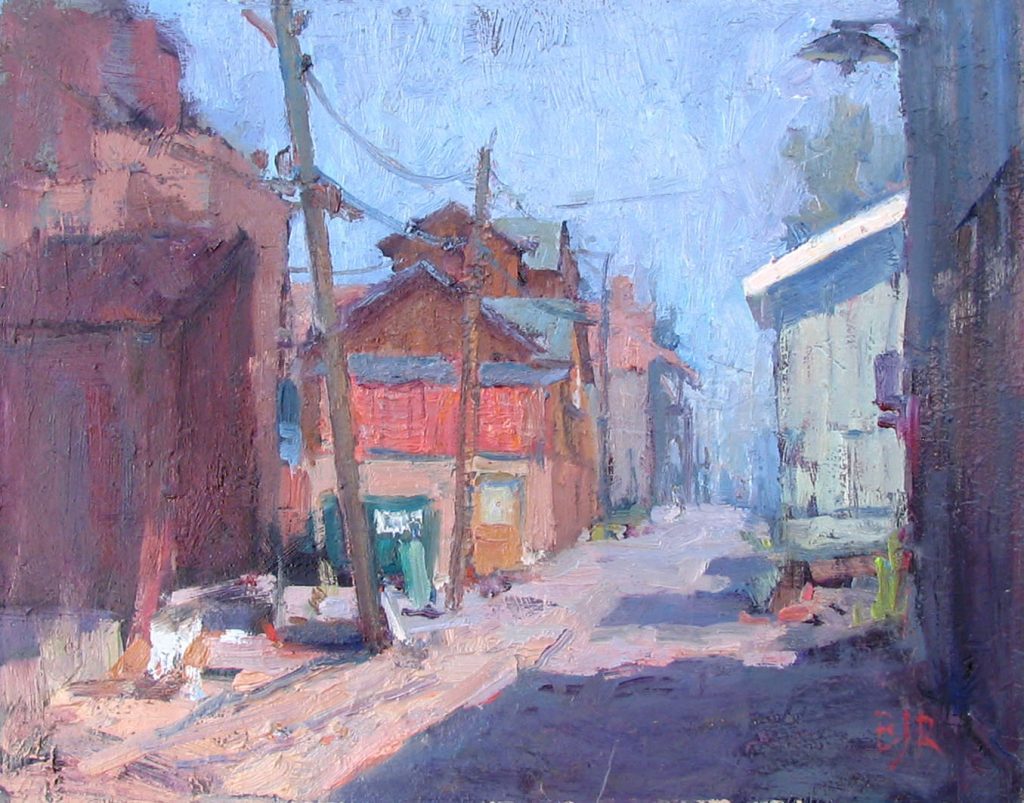
The painting shown in the following demonstration by Barry John Raybould won the top Artist’s Choice Award in the invitational Telluride Plein Air Painting Competition. This competition was judged by all the top professional plein air painters who were participating in the event.
Total Time: 3 hours
Step One: Prepare Your Palette
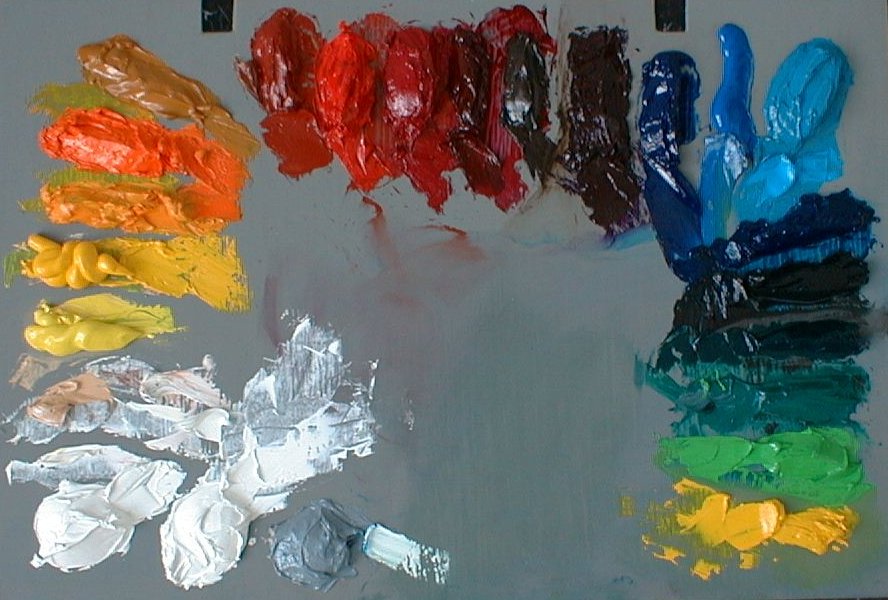
Prepare plenty of paint so that you can concentrate on the scene in front of you rather than continually squeezing paint tubes. I use a full spectrum palette here, but you can use a more limited warm/cool primary palette if you wish. You can get better color harmony with a full spectrum, although it is more difficult to handle.
Step Two: Map Shapes
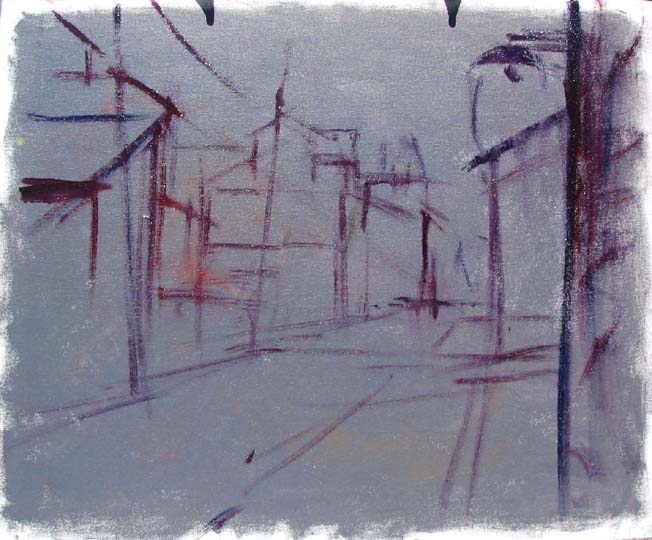
Determine the major shapes in your composition and mark the most important perspective lines.
Plein Air Painting Step Three: Underpainting
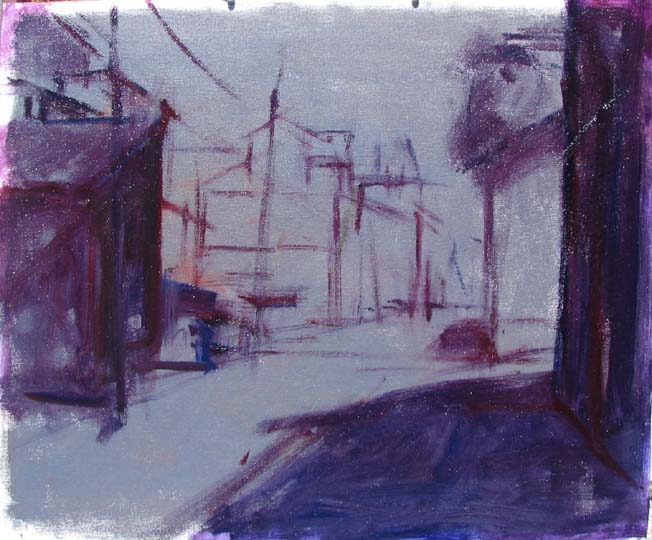
Block in any thin transparent layers you want to show through in the final painting. In this case it is the dark transparent accents. This very dark area will be painted over in the later stages, but not entirely. That is to let a few really think darks remain as accents to give depth to the painting. You also can start with an imprimatura.
Plein Air Painting Step Four: Establish Values
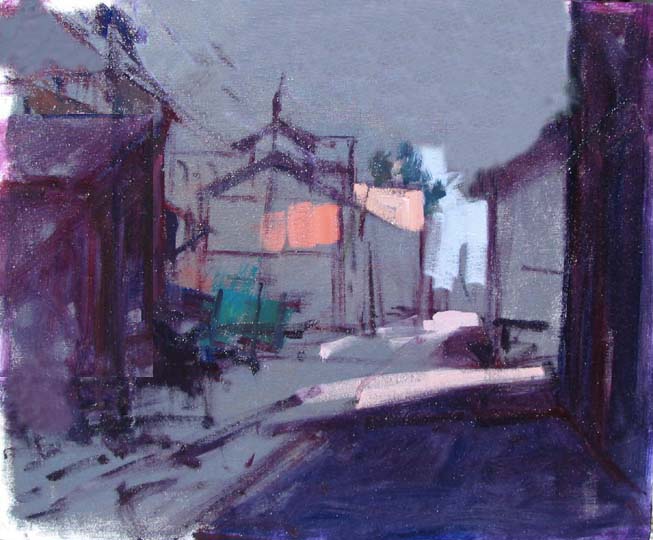
Work out your lightest light and darkest dark. Then determine the middle values.
Plein Air Painting Step Five: Block In Darks
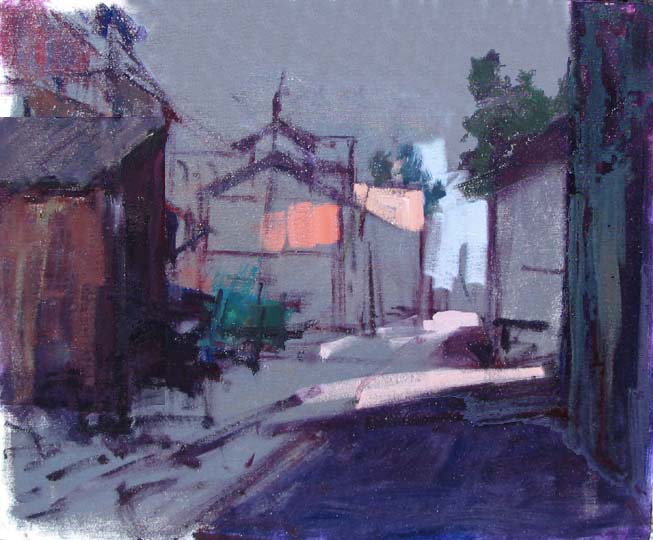
Block in all the dark shapes. These will usually be the areas in shade. Connect your dark shapes if you can into larger shapes to strengthen the design. Keep your shadows in the middle value range for more luminous shadows.
Plein Air Painting Step Six: Block In Lights
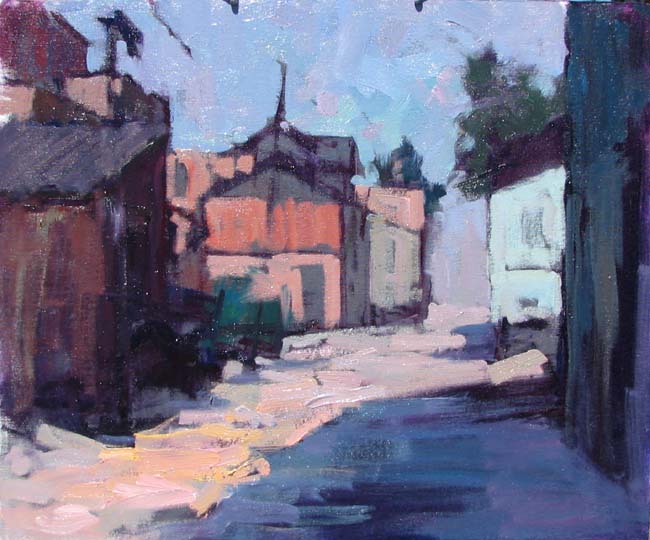
Block in the light shapes using thicker paint. Again, connect the light shapes where you can. Make sure you take into account the principle of unequal space division.
The Completed Award-Winning Plein Air Painting
“Telluride Alley”, 11″x 14″, Oil on Board
First Place Artist Choice in the Telluride Plein Air Festival (2005).
The Alla Prima Painting Process in Action
This video shows the six key steps I use in the alla prima painting process, plus a few extra steps for perfectionists like me! You can learn much more about the all prima process in Workshop D of the Apprentice Program which includes both oil painting lessons and watercolor painting lessons.
The Completed Award-Winning Plein Air Painting
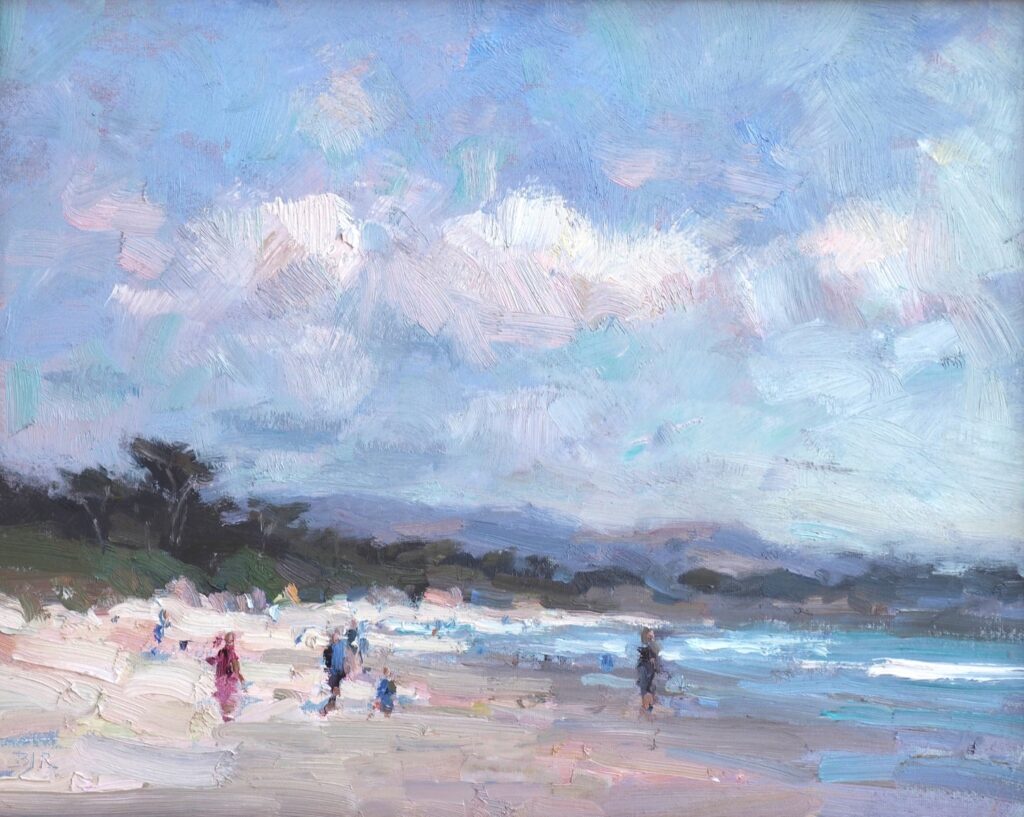
“And Then The Sun Came Out, Carmel Beach” 16″x 20″, Oil on Canvas
Top Oil and Acrylic Painting Award in the Carmel Art Festival Competition (2016).
Voted in the FAV15% (jury’s favorite 15% of the entries) in the May 2019 BoldBrush Painting competition.
There is really no secret to winning awards. It is just a question of consistently applying certain well known painting principles and techniques. It was completely finished in one session using the alla prima approach.
Plein Air Painting Easel
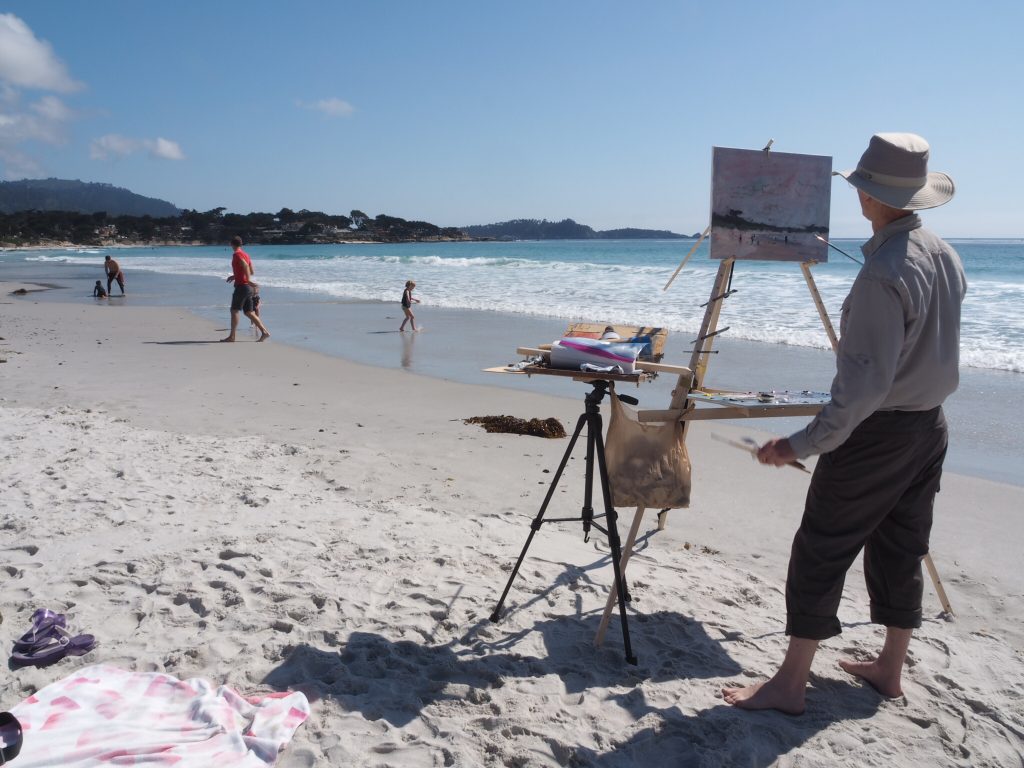
The particular plein air painting easel I am using in this video is based on the old Gloucester Easel design. It is marketed as a Take-It Easel. It is very stable in high winds and lets you paint from very small to very large.
For more information, see:
Plein Air Painting Challenges
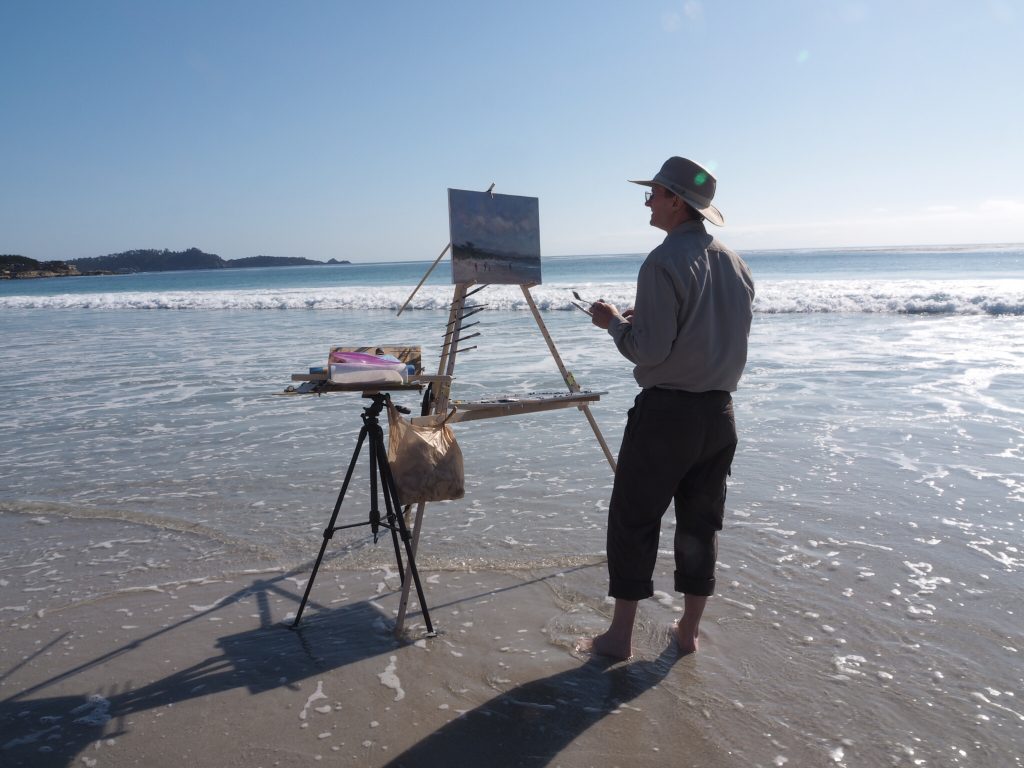
As you can see in the video, alla prima painting can be a real challenge depending on the weather, light, and sometimes…. the sea conditions!
I always spend a lot of time finding the right composition in nature so that I do not have to alter things too much. This involves a lot of searching. Sometimes it involves a not ideal painting position, just to get the right angle on the composition. Even standing in the water!!
Other oil painting techniques I used
Some of the key oil painting techniques I used in this painting that helped to make the work successful were:
- imprimatura – I used a cool imprimatura in this case, using phthalo blue plus black to gray the blue down and lower its saturation. This contrasted with the warmth of the sun on the sand creating a complementary vibration of colors.
- bravura – to make the brushwork interesting I used bravura brushwork, and avoided over blending.
- notan – I paid a lot of attention to the notan design of both paintings before even laying brush to canvas.
- … more oil painting techniques
If anyone is interested in more detail about the alla prima process I use, I documented it in full in one of the Virtual Art Academy eBook series: The The Complete Guide to the Alla Prima Painting Process for Oils, Acrylics and Watercolor.
I hope you find these plein air painting tips useful. You can see more of my recent plein air paintings in this post about my artwork and new features of my online art school. Good luck with your painting!
My Plein Air Painting trips around the world
To see some of my work and my paintings from around the world where is used my plein air painting techniques, check out these links:
- Plein air painting in Tuscany
- Plein air painting in Montenegro
- Plein air painting in China
- Plein air painting in Thailand
- Plein air painting in Morocco
Thank You
Thank you for taking the time to read this article. I hope you find it useful. If you would like to get free painting tips by email, please sign up for my free tips newsletter.
If you are interested in a structured approach for learning how to paint, take a look at my online painting classes.
Happy painting!
Barry John Raybould
Virtual Art Academy
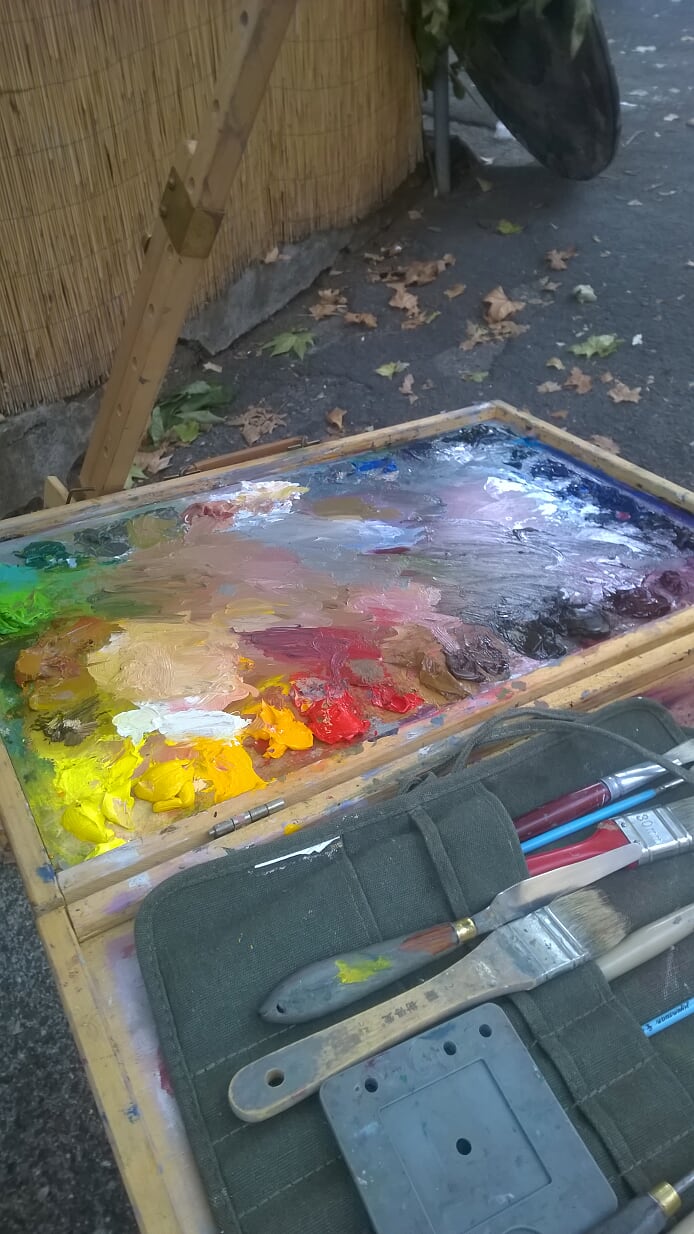










How do you keep the paints on your palette from getting onto everything, since you prepare your palette ahead of time?
I use a wooden palette box that closes to protect the palette. Then I take the palette out of the box, and put it in the fridge over night with plastic wrap pressed over the piles of paint to prevent them drying out. The box I am using at the moment is from ShrubmArt on the Etsy website. Shrubm Art is from the Ukraine. I use the 12″x 16″ size box.
I put plastic wrap over the paint, and it stops it moving and keeps the paint moist.